Softest Sandwich Bread with Fresh Milled Flour
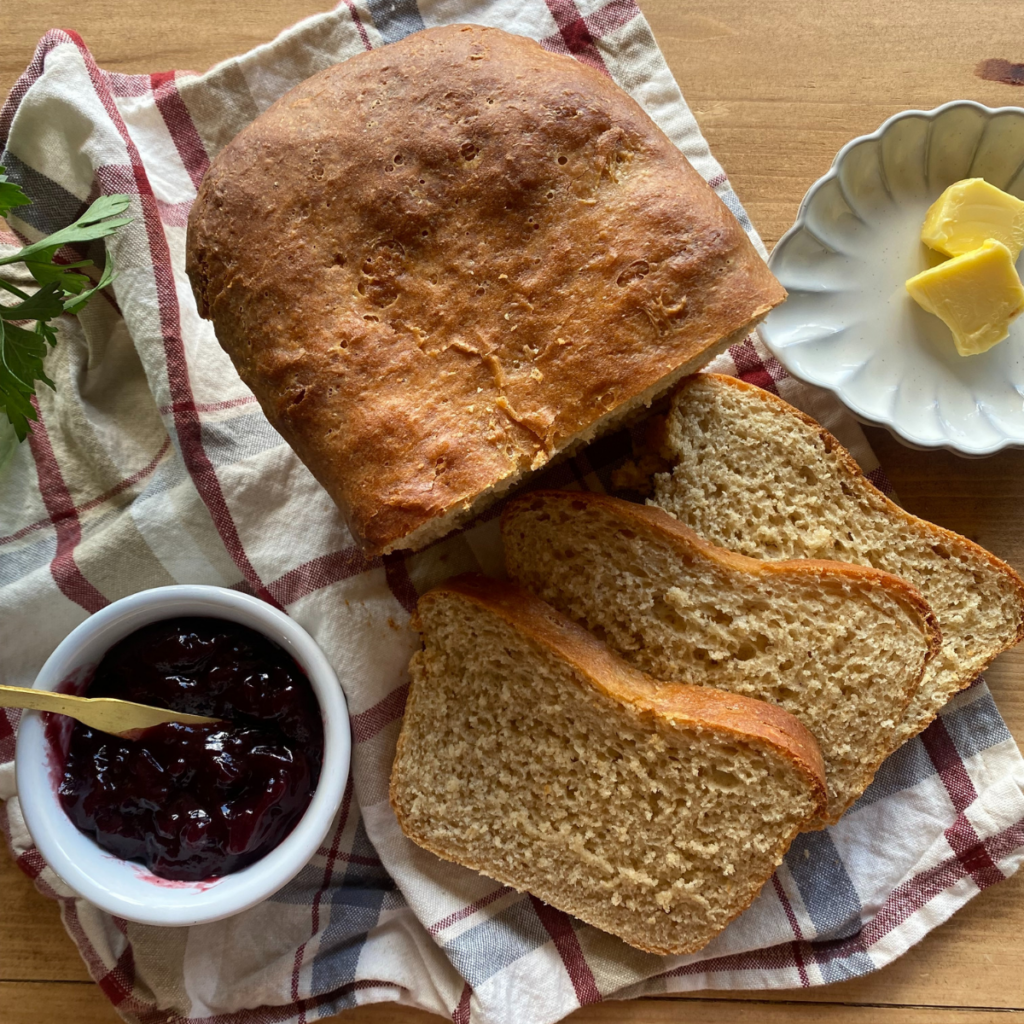
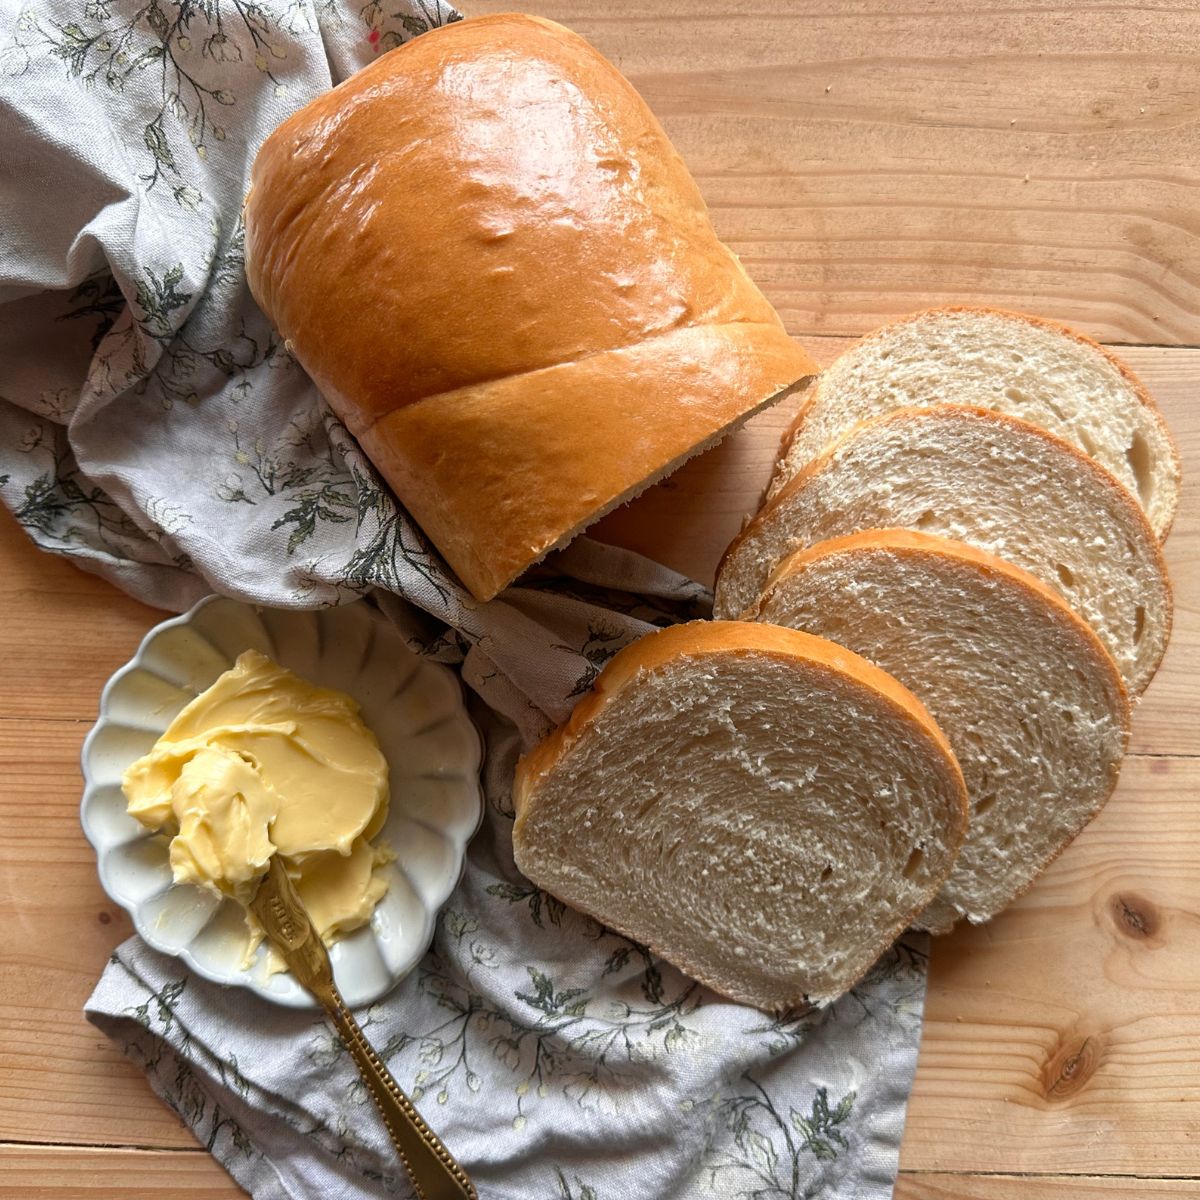
Soft and fluffy with just a hint of sweetness, this soft sandwich bread recipe uses a combination of fresh milled flour and bread flour to create both a nutrient dense and fluffy sandwich bread the whole family will love.

I have been experimenting more and more with fresh milled flour lately. There is a bit of a learning curve for sure, but the process has been fun! I have used it successfully in fresh milled flour pancakes and these whole grain tortillas with delicious results!
Sandwich bread has been a bit trickier. I have found that using fresh milled flour exclusively yields a much more dense loaf that is not as soft and fluffy as the normal sandwich bread my family is accustomed to.
So, my compromise? Half and half. Sure, it’s not exclusively fresh milled flour, so you are missing out on some health benefits, but I have found that using some is still better than none, right? And, it’s bread my kids will actually eat. I still feel good that they are eating homemade bread with good ingredients.
It’s really delicious too! Let’s make it!
Quick Recipe Snapshot
TOTAL TIME: About 2 ½ hours, start to finish! This includes rise times as well as baking.
YIELD: 1 large sandwich loaf.
STORAGE: Cover and store in a Ziploc bag on the counter for up to 5 days.
BEST SERVED WITH: This bread makes a great sandwich when topped with homemade avocado oil mayo and your favorite toppings. Toast it and and serve with a generous slab of butter and strawberry jam for an easy breakfast.
Why You’ll Love This Recipe
Why is Fresh Milled Flour Better?
I highly encourage you to do some research on all of the benefits of freshly milled flour. I have listed just a few below:
- Contains 40/44 essential nutrients! Commercial mills remove part of the wheat kernel, removing the most nutritious part of the grain to make white flour. Milling your own flour not only ensures that your flour is as nutritious as it can be, but it also has a wonderful taste!
- High in protein, antioxidants, fiber, and minerals (zinc, iron, magnesium, etc.)
- Whole grains are absorbed slower than refined grains, which aids in preventing blood sugar spikes.
Ingredients You’ll Need
This is a quick overview of essential ingredients needed for this recipe. Be sure to check out the recipe card below for the full list!
Tips for Preparing to Make This Recipe
- Measuring the Flour: I highly recommend using a food scale to measure out the flour. This will result in a much lighter, fluffier loaf.
- Wheat Berries: I used soft white wheat berries milled on the highest setting in this recipe to yield a soft, fluffy bread.
- Temperature of Ingredients: Make sure the water and milk are warm, but not too hot (around 110 degrees F). If the liquid is too hot, it could kill the yeast. Also be sure to make sure the melted better has had a chance to cool before adding to the dough.
- Kneading the Dough: I use my stand mixer with a dough hook attachment to knead the dough. I find it takes around 8-10 minutes. You could also knead the dough by hand. The dough is ready to rise when it comes together in a ball, is smooth and elastic, and it passes the windowpane test. To do this, take a small piece of dough in your fingers, stretch it apart to the point of being thin and see-through. If it breaks, it needs to be kneaded further. If it does not break, the gluten should be sufficiently developed.
- Baking: Lower the oven rack to a lower position when baking the bread. This will prevent the top from browning too quickly while baking.
Be sure to check out the full recipe and ingredient list below!
Step by Step Instructions
- Mill Flour: Using a grain mill, mill wheat berries on the highest setting. You will need 250 grams of milled flour (roughly 2 cups). Set aside while you prepare the other ingredients.
- Activate the Yeast: In a small bowl, combine warm milk and water, honey, and yeast. Stir to combine. Let it sit for 5-10 minutes until the yeast has bloomed.
- Make the Dough: In the bowl of a stand mixer fitted with a dough hook attachment or a large mixing bowl, combine the yeast mixture, melted butter, salt, and flour. Turning the mixing on medium-low speed, begin kneading the dough until combined, approximately 8-10 minutes.
- First Rise: Once the dough has been sufficiently kneaded, add it to a well oiled bowl (I use avocado oil) to complete the first rise. Cover with plastic wrap or a clean tea towel and let it sit at room temperature for 1 hour or until doubled in size.
- Grease a loaf pan and set aside.
- Shape & Rise Again: Once the dough has doubled, remove it from the bowl and place it on a lightly floured surface. Begin shaping the dough by pressing it out into a rough rectangle shape, about 8 x 15 inches. Begin rolling the dough towards you in a log shape, keeping it as tight as you can. Place the dough in the prepared loaf pan to complete the second rise.
- Second Rise: Cover the shaped loaf, and allow it to rise again until it’s about 1 inch above the top of the loaf pan, about 1 hour.
- Bake the bread: Towards the end of the second rise, preheat the oven to 375 degrees. Bake for 32-35 minutes or until golden brown on top. If you notice the top browning too quickly, loosely tent the pan with aluminum foil. The bread is done when a digital food thermometer reads the center of the loaf as 195–200°F.
- Remove from the oven and allow bread to cool for a few minutes in the pan on a cooling rack before removing the bread from the pan and slicing. Enjoy!


Recipe FAQs
Commercial mills remove part of the wheat kernel, removing the most nutritious part of the grain to make white flour. Milling your own flour not only ensures that your flour is as nutritious as it can be, but also has a wonderful taste!
Fresh milled flour is best used immediately to gain the full nutritional benefits.
I recommend covering the bread tightly and storing in a Ziploc bag at room temperature for up to 5 days. Bread will keep longer when stored in the fridge- up to 10 days.
Yes. Allow the baked bread to cool completely before wrapping tightly in plastic wrap or aluminum foil, and then store in a freezer safe zip topped bag. It will store well in the freezer for up to 3 months. Let it thaw in the fridge or on the counter and then reheat as desired.
Pin it For Later!

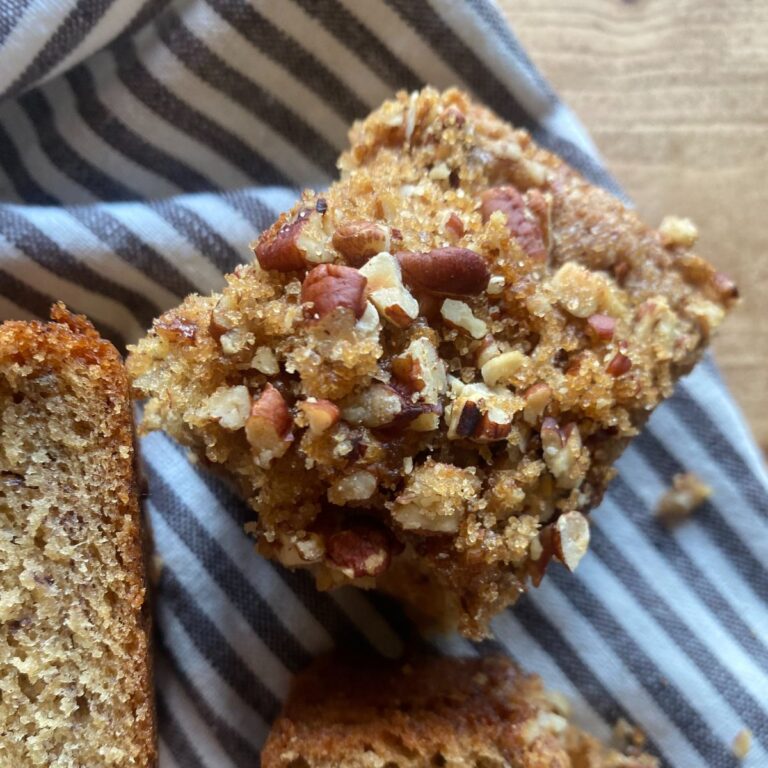
More Bread Recipes
Check out these other reader favorite bread recipes!


Soft Sandwich Bread with Fresh Milled Flour
- Total Time: 50 minutes
- Yield: 1 loaf 1x
Description
Soft and fluffy with just a hint of sweetness, this soft sandwich bread recipe uses a combination of fresh milled flour and bread flour to create both a nutrient dense and fluffy sandwich bread the whole family will love.
Ingredients
- 1 cup whole milk
- ½ cup water
- 3 tbsp honey
- 1 packet active dry yeast
- 1 ½ tsp salt
- 3 tbsp butter, melted and cooled
- 250 grams freshly milled flour
- 250 grams bread flour
Instructions
- Mill Flour: Using a grain mill, mill soft white wheat berries on the highest setting. You will need 250 grams of milled flour (roughly 2 cups). Set aside while you prepare the other ingredients.
- Activate the Yeast: In a small bowl, combine warm milk and water, honey, and yeast. Stir to combine. Let it sit for 5-10 minutes until the yeast has bloomed.
- Make the Dough: In the bowl of a stand mixer fitted with a dough hook attachment or a large mixing bowl, combine the yeast mixture, melted butter, salt, and flour. Turning the mixing on medium-low speed, begin kneading the dough until combined, approximately 8-10 minutes.
- First Rise: Once the dough has been sufficiently kneaded, add it to a well oiled bowl (I use avocado oil) to complete the first rise. Cover with plastic wrap or a clean tea towel and let it sit at room temperature for 1 hour or until doubled in size.
- Grease a loaf pan.
- Shape & Rise Again: Once the dough has doubled, remove it from the bowl and place it on a lightly floured surface. Begin shaping the dough by pressing it out into a rough rectangle shape, about 8 x 15 inches. Begin rolling the dough towards you in a log shape, keeping it as tight as you can. Place the dough in the prepared loaf pan to complete the second rise.
- Second Rise: Cover the shaped loaf, and allow it to rise again until it’s about 1 inch above the top of the loaf pan, about 1 hour.
- Bake the bread: Towards the end of the second rise, preheat the oven to 375 degrees. Bake for 32-35 minutes or until golden brown on top. If you notice the top browning too quickly, loosely tent the pan with aluminum foil. For a more accurate test, the bread is done when a food thermometer reads the center of the loaf as 195–200°F.
- Remove from the oven and allow bread to cool for a few minutes in the pan on a cooling rack before removing the bread from the pan and slicing. Enjoy!
Notes
- Measuring the Flour: I highly recommend using a food scale to measure out the flour. This will result in a much lighter, fluffier loaf.
- Wheat Berries: I used soft white wheat berries milled on the highest setting in this recipe to yield a soft, fluffy bread.
- Temperature of Ingredients: Make sure the water and milk are warm, but not too hot (around 110 degrees F). If the liquid is too hot, it could kill the yeast. Also be sure to make sure the melted better has had a chance to cool before adding to the dough.
- Kneading the Dough: I use my stand mixer with a dough hook attachment to knead the dough. I find it takes around 8-10 minutes. You could also knead the dough by hand. The dough is ready to rise when it comes together in a ball, is smooth and elastic, and it passes the windowpane test. To do this, take a small piece of dough in your fingers, stretch it apart to the point of being thin and see-through. If it breaks, it needs to be kneaded further. If it does not break, the gluten should be sufficiently developed.
- Baking: Lower the oven rack to a lower position when baking the bread. This will prevent the top from browning too quickly while baking.
- Storage: Cover the bread tightly and store it in a Ziploc bag at room temperature for up to 5 days. Bread will keep longer when stored in the fridge- up to 10 days.
- Freezing Instructions: Allow the baked bread to cool completely before wrapping tightly in plastic wrap or aluminum foil and then store in a freezer safe zip topped bag. It will store well in the freezer for up to 3 months. Let it thaw in the fridge or on the counter and then reheat as desired.
- Prep Time: 15 minutes
- Cook Time: 35 minutes
- Category: Bread Recipes
- Method: Baking
- Cuisine: American
If you loved this fresh milled flour sandwich bread recipe, make sure to come back and leave a 5 star rating and a comment!


Delicious!!