Easiest Homemade Strawberry Jam Recipe (No Pectin!)
Berry season is upon us, and its time to preserve all of those delicious, ripe berries! This easy homemade strawberry jam is delightfully sweet, and sets just perfectly even without the addition of pectin! This no pectin strawberry jam uses only strawberries, sugar, and lemon juice to create the perfect jam that is ready to be added to all your favorite baked goods.

All You Need is Love (and Jam).
Fun fact: When my husband and I got married, I made strawberry jam and added it to cute little jars as wedding favors.
It was super cute, but a LOT of work (God bless my mother who helped with this whole process).
I have since made strawberry jam many times, but was craving a way to make the process just a little bit easier. The problem I ran into when I went to make jam was 99% of the time I had to run out and get some pectin. I don’t have anything against pectin necessarily, it’s just not something I ever really keep on hand.
So, I had to try and figure out a way to get homemade strawberry jam that still set beautifully without the addition of pectin. Turns out, all you really need is time.
Let’s walk through it!

Quick Recipe Snapshot
TOTAL TIME: About an hour, start to finish.
YIELD: About 8-9 cups jam.
STORAGE: I have listed options for short and long-term storage below!
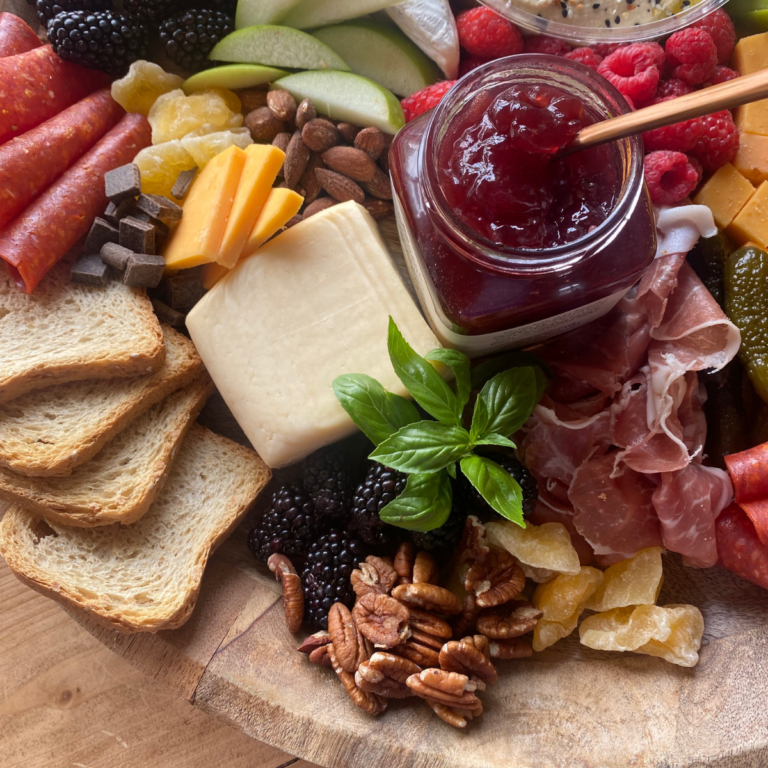
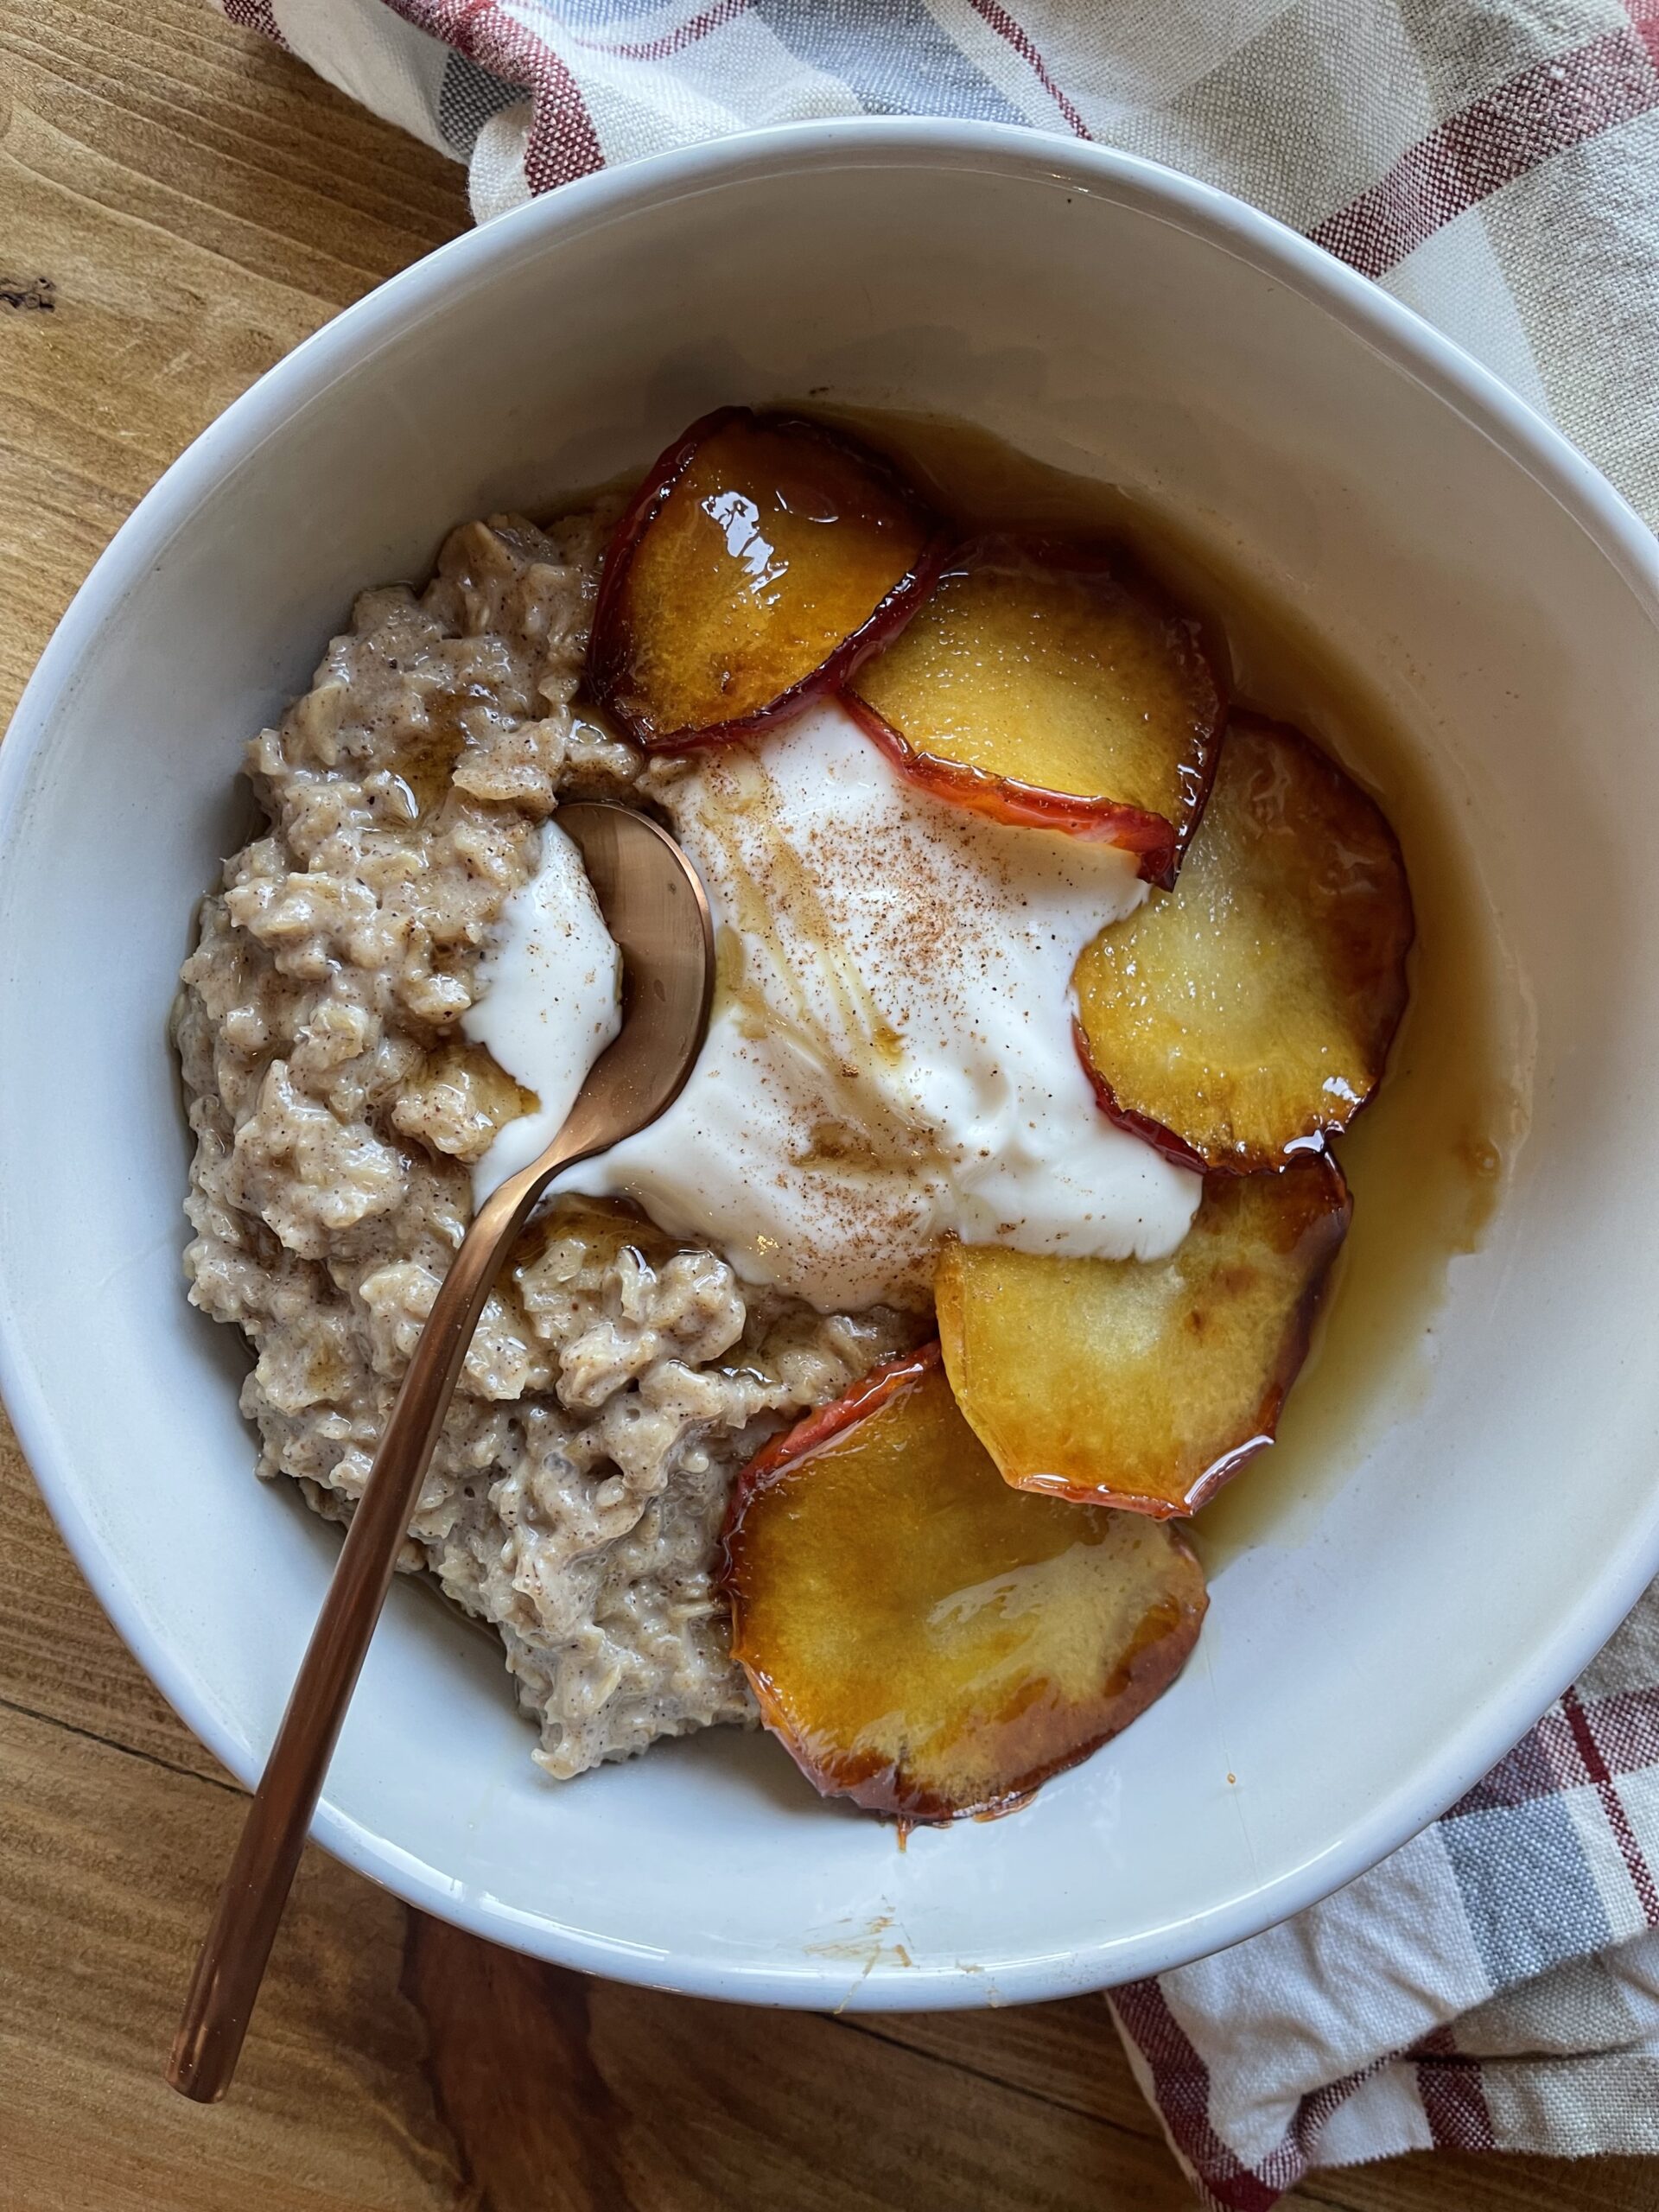
BEST SERVED WITH: Gosh, the options are endless! Homemade einkorn biscuits, a slice of sourdough bread, use it as a filling between layers of this sourdough vanilla cake or homemade hand pies... you really can’t go wrong here 🙂
What You’ll Love About This Recipe
Ingredients You’ll Need
Tips for Preparing to Make Strawberry Jam
- Make sure you have all your tools close by before you start. Especially if you are planning to heat process the jars to store them at room temperature, I highly recommend having all your tools handy because the process goes fairly quick once you begin.
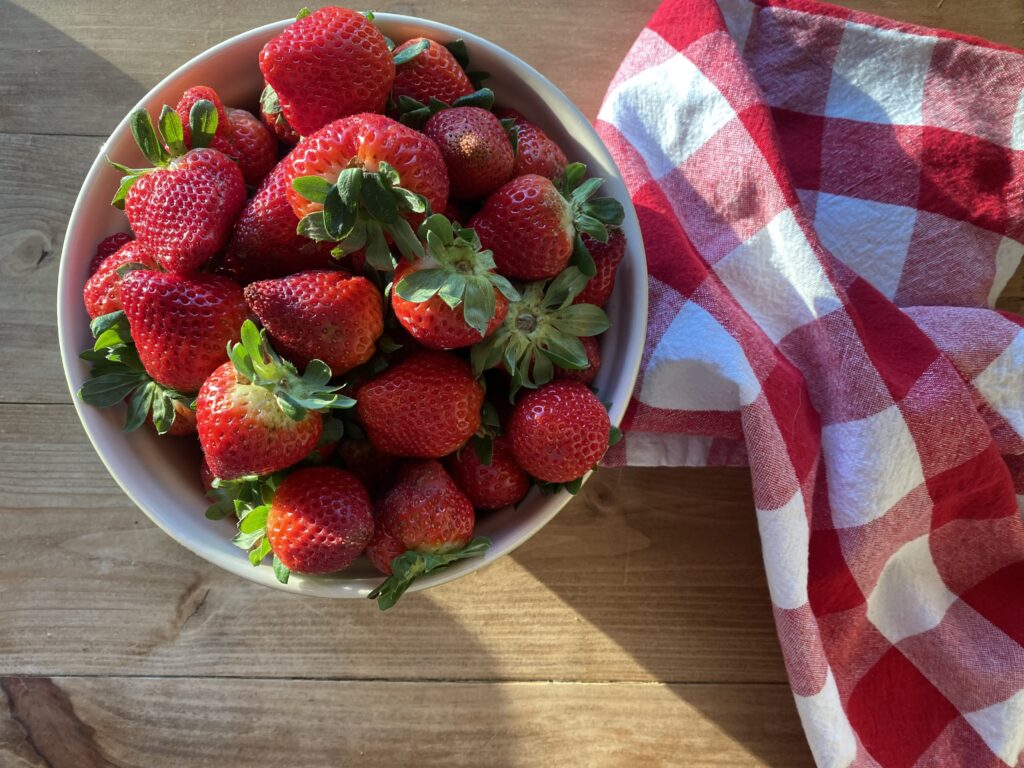
- Use fresh, ripe strawberries that are in season. Strawberries that are in season and ripe will provide much better flavor for the jam. You can definitely use frozen strawberries, just make sure you allow time for them to thaw completely before using.
- Use real sugar. I used organic cane sugar in this recipe, but white, brown, or even coconut sugar will work well. I would not recommend using a sugar substitute, as your jam will not set the same.
Be sure to check out the full recipe and ingredient list below!
Step by Step Instructions
- Prepare jars and lids: Prep small canning jars and lids (I use half pint mason jars) by washing them and adding to a large pot of simmering water. Completely submerge them in water, and then let them sit in the simmering water while you make the jam. This is to help prepare the jars to accommodate the hot jam later in the process.
- Prepare the strawberries by washing, hulling, and roughly chopping.
- How to hull strawberries: Pull back the leaves of each strawberry so you can see the stem. Insert a small knife (paring knife works best if you have it) at a slight angle as close to the stem as you can. Cut a circle around the stem. Remove the hull and discard.
- Add the chopped strawberries, sugar, and lemon juice to a large pot or Dutch oven. Place over medium-high heat and stir until the sugar is dissolved.
- Once the sugar has dissolved, simmer the berry mixture for 10-15 minutes while continuing to stir frequently. You don’t want it to burn! Using a potato masher, mash the strawberries as they soften and cook. You can mash them as much or as little as you like.
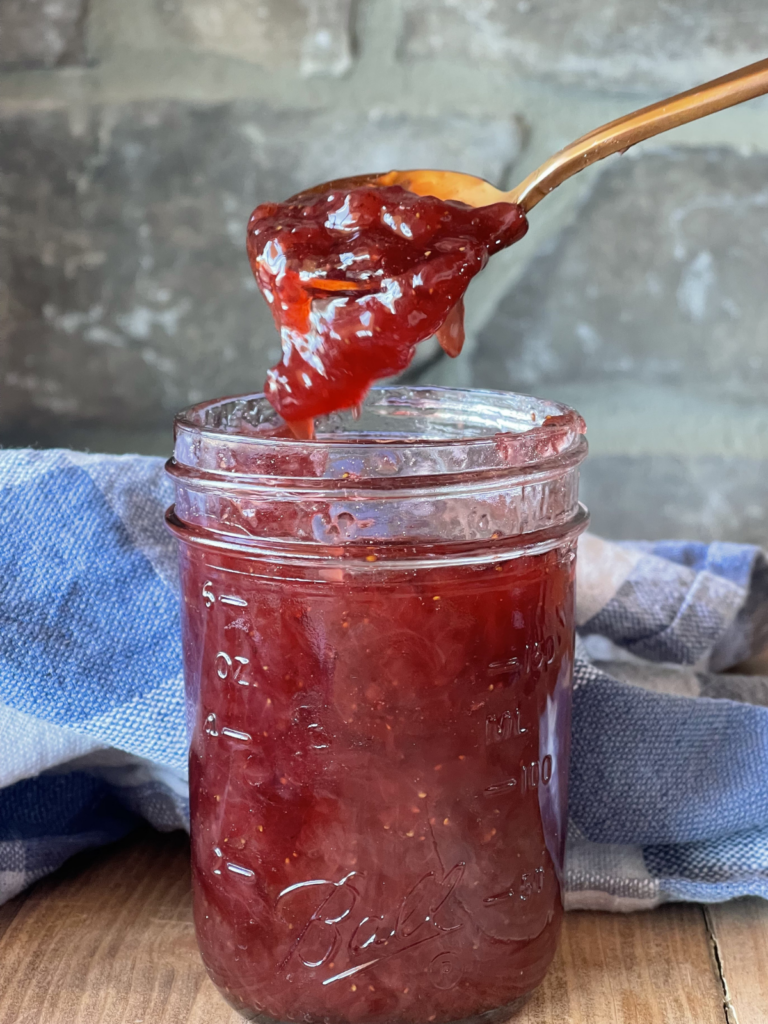
- Turn the heat to medium high and bring the mixture to a rolling boil while continuing to stir frequently. Continue to stir constantly to prevent the mixture from burning. Once the berry mixture reaches 220 degrees F on a food thermometer and is thick and syrupy, turn the heat down and let it simmer for 30 minutes, frequently stirring.
- While the mixture is simmering, use a large spoon to spoon as much of the foam off of the top as you can and discard.
Add the Jam to the Jars
- Remove the jam from the heat and add to prepared jars, (using a canning funnel makes this process quick and easy!) leaving ¼″ headspace around the top of each jar.
- Gently insert a butter knife into each jar, running it along the edges of the jar and into the jam. The purpose is to remove any air pockets or big bubbles.
- If needed, use a wet cloth to wipe off the outside of the mouth of the jar. You want to remove any stray jelly from the outside, especially around the threads of the jar.
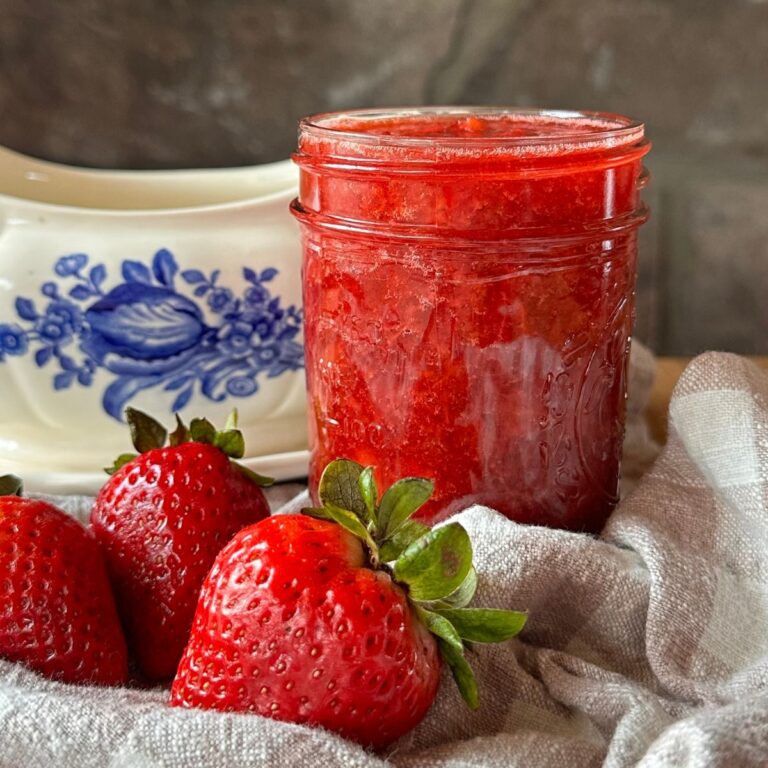
- Allow the jars to cool to room temperature before storing in the fridge for up to 4 weeks.

Instructions for Water Bath Canning (Optional Step)
- If choosing to heat process your jam to store at room temperature, place each jar of jam back into a large pot for their water bath, boiling them for 10-15 minutes. Make sure they’re submerged in boiling water the whole time.
- After about 15 minutes, turn off the heat and remove the lid. Allow the jars to sit in the hot water for an additional five minutes. This will help equalize the pressure inside the jars.
- Remove from the water bath and let them sit out at room temperature to cool. Over the next few minutes to hours, you should hear a delightful “pop” as each jar begins to seal. Once the jar is sealed, it will store well at room temperature for up to 1 year.
Freezing Instructions
- Instead of heat processing the jam in a water bath, you can easily freeze it!
- To freeze, follow the same steps of cooking and adding the jam to the glass jars. Instead of adding them to the water bath, allow them to cool to room temperature on the counter before storing in the freezer.
- Once the jam is removed from the freezer, store it in the fridge for up to 4 weeks.
This jam freezes beautifully for up to 1 year!
Recipe FAQs
You can check this by gently pressing on the center of the lid. There should be no give whatsoever. It should be a hard seal, and the lid should be concave. If you have any jars that don’t have that tight seal, no worries! Just refrigerate them instead of storing at room temperature.
Use fresh, ripe strawberries during peak season for best results.
The addition of lemon juice helps release the natural pectin found in strawberries.

Ideas for How to Use Strawberry Jam
- Jam and biscuits are a match made in heaven! Try this jam with this strawberry shortcake biscuit recipe, or these einkorn biscuits.
- Use it as a delicious filling in this homemade hand pie recipe.
- Use as a delicious addition to homemade vanilla ice cream.
- Use it as a deliciously sweet layer in these homemade frozen yogurt popsicles.
- Use it as a topping for homemade sandwich bread or in this easy sourdough bread recipe.
- It is delicious on top of pancakes! Try these sourdough discard pancakes, fluffy einkorn pancakes, or even this freshly milled flour pancake recipe.
More Staple Recipe Ideas
Check out these reader favorites, straight from my log cabin kitchen!


Pin it For Later!


Homemade Strawberry Jam (No Pectin!)
- Total Time: 1 hour 5 minutes
Description
This easy homemade strawberry jam is delightfully sweet, and sets just perfectly even without the addition of pectin! This no pectin strawberry jam uses only strawberries, sugar, and lemon juice to create the perfect jam that is ready to be added to all your favorite baked goods.
Ingredients
- 10 cups strawberries (roughly chopped)
- 7 cups cane sugar
- 3 tbsp lemon juice
Instructions
- Prepare jars and lids: Prep small canning jars and lids (I use half pint mason jars) by washing them and adding to a large pot of simmering water. Completely submerge them in water, and then let them sit in the simmering water while you make the jam. This is to help prepare the jars to accommodate the hot jam later in the process.
- Prepare the strawberries by washing, hulling, and roughly chopping.
- How to hull strawberries: Pull back the leaves of each strawberry so you can see the stem. Insert a small knife (paring knife works best if you have it) at a slight angle as close to the stem as you can. Cut a circle around the stem. Remove the hull and discard.
- Add the chopped strawberries, sugar, and lemon juice to a large pot or Dutch oven. Place over medium-high heat and stir until the sugar is dissolved.
- Once the sugar has dissolved, simmer the berry mixture for 10-15 minutes while continuing to stir frequently. You don't want it to burn! Using a potato masher, mash the strawberries as they soften and cook. You can mash them as much or as little as you like.
- Turn the heat to medium high and bring the mixture to a rolling boil while continuing to stir frequently. Continue to stir constantly to prevent the mixture from burning. Once the berry mixture reaches 220 degrees F on a food thermometer and is thick and syrupy, turn the heat down and let it simmer for 30 minutes, frequently stirring.
- While the mixture is simmering, use a large spoon to spoon as much of the foam off of the top as you can and discard.
- Remove the jam from the heat and add to prepared jars, (using a canning funnel makes this process quick and easy!) leaving ¼" headspace around the top of each jar.
- Gently insert a butter knife into each jar, running it along the edges of the jar and into the jam. The purpose is to remove any air pockets or big bubbles.
- If needed, use a wet cloth to wipe off the outside of the mouth of the jar. You want to remove any stray jelly from the outside, especially around the threads of the jar.
- Allow the jars to cool to room temperature before storing in the fridge for up to 2 weeks.
Notes
Optional Water Bath Canning:
- If choosing to heat process your jam for longer storage, place each jar of jam back into a large pot for their water bath, boiling them for 10-15 minutes. Make sure they’re submerged in boiling water the whole time.
- After about 15 minutes, turn off the heat and remove the lid. Allow the jars to sit in the hot water for an additional five minutes. This will help equalize the pressure inside the jars.
- Remove from the water bath and let them sit out at room temperature to cool. Over the next few minutes to hours, you should hear a delightful "pop" as each jar begins to seal. Once the jar is sealed, it will store well at room temperature.
Freezing Instructions:
- Prep Time: 20 minutes
- Cook Time: 45 minutes
- Category: Breakfast
- Cuisine: American
If you enjoyed this no pectin strawberry jam recipe, make sure to come back and leave a 5 star review! I would love to know how this recipe turned out for you.


Easy to follow recipe and turned out great. I only used 5 cups of sugar however due to running out and not wanting to go to the store, plenty sweet for my family and I.
So glad you loved the recipe! 🙂
This strawberry jam recipe did not thicken for me. It was still runny after setting, so I opened the jars and dumped the ham back in my pot to boil again. This time, I added applesauce and it turned out well.
I’m so sorry to hear you had trouble with this recipe! Do you have a food thermometer? I find that it really helps with measuring the temperature just right for proper setting.
Glad your idea to use applesauce worked out 🙂