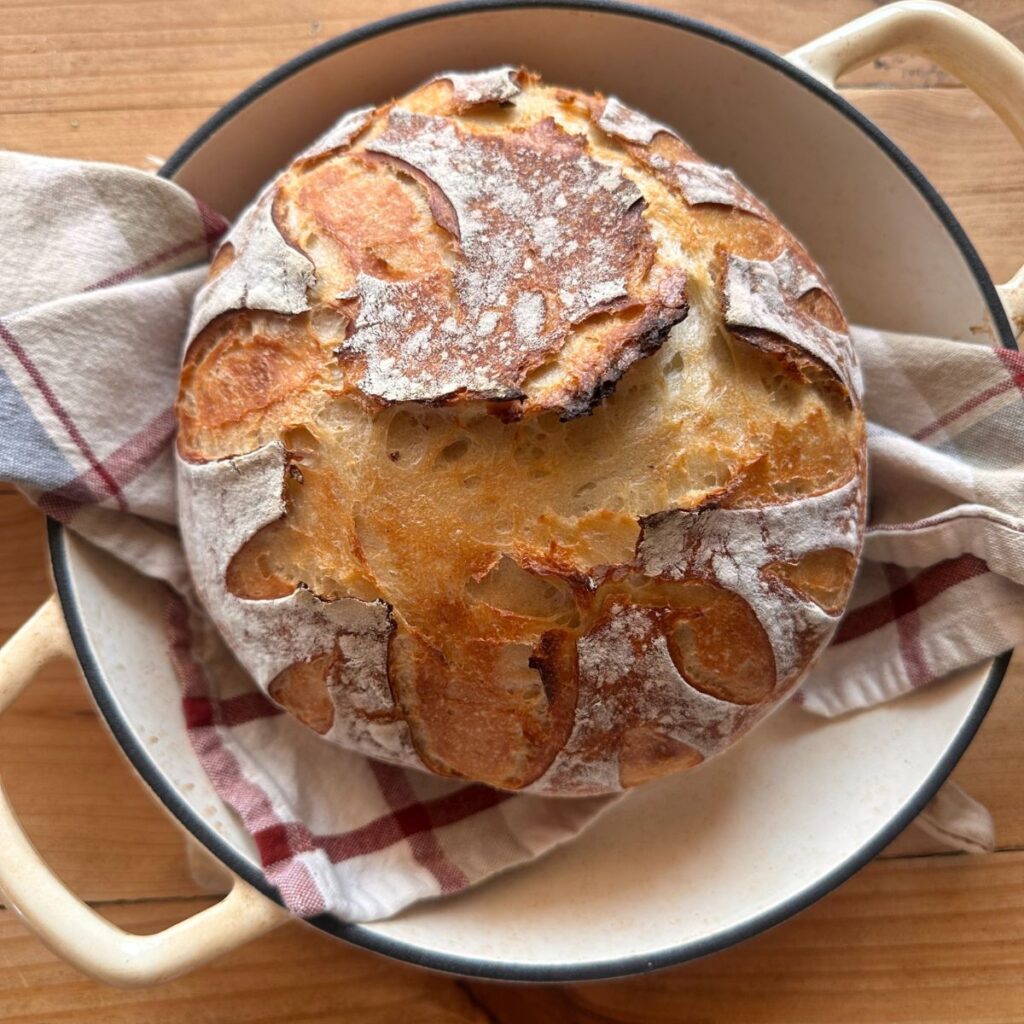
Easy Dutch Oven Sourdough Bread Recipe: Perfect for Beginners!
This easy sourdough bread recipe boasts a crusty exterior with an interior that is perfectly chewy and filled with that signature sourdough tang. This artisan sourdough loaf is prepared a day in advance and fermented overnight for the perfect rise and bake the next day. Perfect for beginner bakers, and this is one recipe I come back to time and time again. It is perfect!
If you have spent any time here on the blog, you know that it is no secret that I love sourdough. From sourdough chocolate chip cookies to this decadent chocolate sourdough bread, creating the perfect loaf with an active and bubbly starter is one of my favorite things to do in the kitchen.
Jump to:
Why You’ll Love This Recipe
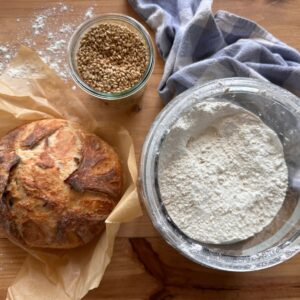
Ingredients You’ll Need

Tips for Preparing to Make This Recipe
- The time it takes for the dough to rise during bulk fermentation can vary depending on how warm your house is, the maturity of your starter, etc. Remember good things come to those who wait 🙂
- Due to the addition of the honey, the dough will be slightly sticky to work with. This is okay! I find that dipping my fingers in water before and while handling the dough helps tremendously.
- If you don’t own a kitchen scale, I recommend you spoon and level the flour when measuring to get as accurate of a measurement as possible. Scooping the flour directly from a container generally leads to adding more flour than the recipe calls for, which can lead to a tougher loaf of bread.
- I like to dust the top of the dough with flour so the scoring pattern stands out once the bread is baked. This is optional, but makes it extra pretty.
- If you find the bottom of your sourdough bread is getting too brown in the oven, add a thin layer of uncooked rice on the bottom of the Dutch oven before placing the sourdough bread on top and baking. This will keep the bottom from getting too brown.
- If you are wanting to bake sourdough bread the same day, it is possible! Check out my same day sourdough bread recipe here.
Be sure to check out the full recipe and ingredient list below!
Step by Step Instructions
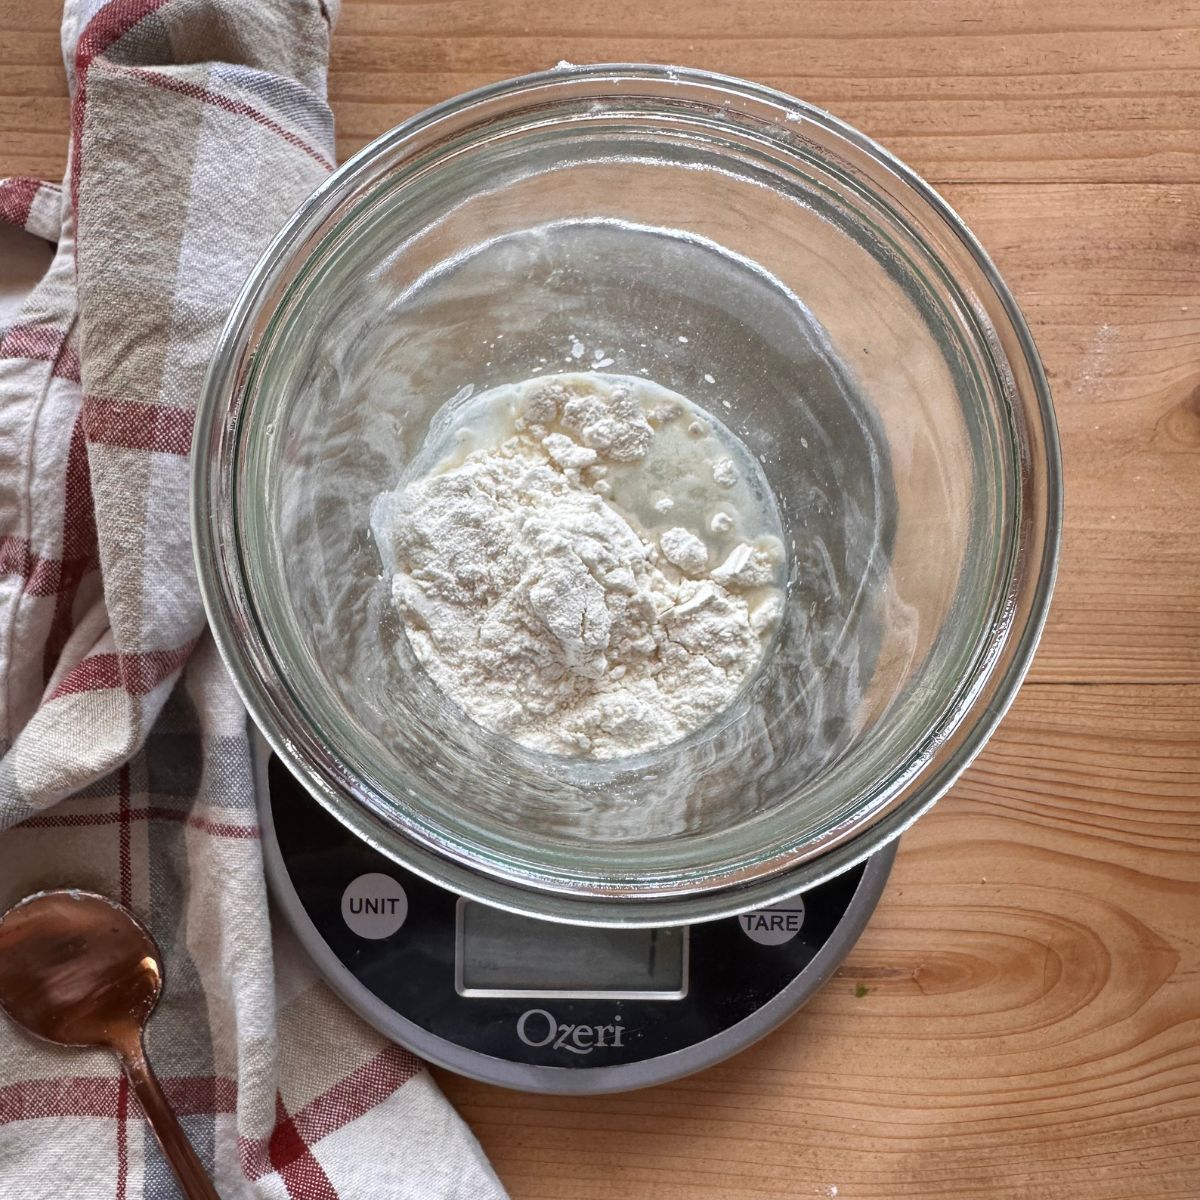
- Prepare the dough: In a large mixing bowl, combine the sourdough starter, water, salt, and honey, whisking together to combine. Slowly add in the flour, mixing together with your hands until just combined. Allow to rest for 20-30 minutes. This process is known as autolyse, which helps the dough to fully absorb the liquid and become much more hydrated.
- Stretch and Folds: Once the dough has had a chance to rest, begin completing your first stretch and fold. To do this, grab one edge of the dough and pull up, gently stretching it out as you pull upwards. Place this dough back into the center, and then give the bowl a quarter turn. Then grab another edge of dough, and complete another stretch and fold. Repeat two more times. This is considered one set of stretch and folds. You will do two more rounds of stretch and folds, waiting about 20 minutes in between each set.
- Bulk fermentation: Once you have completed the stretch and fold process, add the dough to a bowl or banneton basket, cover with plastic wrap or a damp kitchen towel and allow it to bulk ferment overnight, about 8-12 hours.
Conduct the float test to make sure the starter is active! To do this, gently drop of a spoonful of starter into a glass of water. You will find that either the starter floats or settles to the bottom. This indicates whether your starter is holding enough gas bubbles to bring about rise. If it floats, it contains lots of bubbles of carbon dioxide, the result of happy yeast that is ready to bake. If it sinks to the bottom, the starter is presumably not ready, requiring further time and feedings before it is ready for baking.
Shape, Rise, and Bake!
- The next morning, grab the risen dough out of the bowl or banneton basket and place it onto a lightly floured surface. Begin shaping by folding the sides of the dough onto itself, and roll up. Shape into a tight smooth ball by gently spinning it toward you. This helps to create a nice oven spring.
- Allow the bread dough to rest one final time while you preheat the oven to 500 degrees F. Place a cast iron Dutch oven into the oven while it preheats.
- Right before baking, transfer the dough onto a sheet of parchment paper. Lightly flour the surface and score with a razor blade or lame. (This is optional!)
- Take the preheated Dutch oven out of the oven. Carefully lower the dough, parchment paper and all, into the Dutch oven, being careful not to burn your fingers.
- Place the lid back on and bake for 25 minutes.
- Using oven mitts, remove the lid and turn the oven temperature down to 475 degrees. Bake for an additional 10 minutes or until golden brown on the top.

Sample Baker’s Schedule
To get an easy idea of what this process will look like, here is an example of a schedule I use when baking bread. Keep in mind this is not a rigid schedule!
Basically, you will want to feed your starter 8-12 hours before mixing together your bread. I find it is easiest to feed my starter in the morning, and then mix together my bread dough later in the evening before letting it bulk ferment overnight. In the morning, I shape the bread and let it rise one final time while the oven preheats.
- 10 AM: Feed sourdough starter.
- 6 PM: Starter is active and bubbly, so I begin mixing together my bread dough. I will complete the autolyse process and 3 rounds of stretch and folds before adding the dough to a bowl or banneton basket to let it bulk ferment and rise overnight.
- 7 AM: Shape the dough, place it onto a piece of parchment paper and let rise for 1 hour. Towards the end of the last rise, I will preheat the oven to 500 degrees. Right before the bread goes into the oven, I will dust the top with flour and score it.
- 8 AM: Bake bread according to recipe instructions. Enjoy!
Recipe FAQs
Yes! Bulk fermentation refers to the time after you complete gluten development (through stretch and folds) until the time when you begin shaping your dough. It is essential to a delicious and nutritious loaf of sourdough.
Active starter has been fed (generally within the last 8-12 hours) and is at its peak. It can be used in bread recipes to achieve a good rise. Discard has not been fed and will not rise baked goods, although you can still use it in many delicious recipes!
Sourdough is definitely a healthier alternative to regular wheat bread! It is gut healthy, with lower phytate levels that make it more digestible and nutritious. It is also packed full of prebiotics that help to keep your gut bacteria happy.
For an in depth overview of essential tools needed for successful sourdough baking, head over to this post.

Easy Sourdough Bread Recipe
- Total Time: 0 hours
- Yield: 1 large loaf 1x
Description
This easy sourdough bread recipe boasts a crusty exterior with an interior that is perfectly chewy and filled with that signature sourdough tang. This artisan sourdough loaf is prepared a day in advance and fermented overnight for the perfect rise and bake the next day. Perfect for beginner bakers, and is one recipe I come back to time and time again. It is perfect!
Ingredients
- 500 grams all purpose flour
- 100 grams active sourdough starter
- 3 tbsp honey
- 1 ½ tsp salt
- 300 grams water
Instructions
- Prepare the dough: In a large mixing bowl, combine the sourdough starter, water, salt, and honey, whisking together to combine. Slowly add in the flour, mixing together with your hands until just combined. Allow to rest for 20-30 minutes. This process is known as autolyse, which helps the dough to fully absorb the liquid and become much more hydrated.
- Stretch and Folds: Once the dough has had a chance to rest, begin completing your first stretch and fold. To do this, grab one edge of the dough and pull up, gently stretching it out as you pull upwards. Place this dough back into the center, and then give the bowl a quarter turn. Then grab another edge of dough, and complete another stretch and fold. Repeat two more times. This is considered one set of stretch and folds. You will do two more rounds of stretch and folds, waiting about 20 minutes in between each set.
- Bulk fermentation: Once you have completed the stretch and fold process, add the dough to a lightly greased bowl or banneton basket. Cover with plastic wrap or a damp kitchen towel and allow it to bulk ferment overnight, about 8-12 hours.
- The next morning, grab the risen dough out of the bowl and place it onto a lightly floured surface. Begin shaping by folding the sides of the dough onto itself, and roll up. Shape into a tight smooth ball by gently spinning it toward you. This helps to create a nice oven spring.
- Allow the bread dough to rest one final time while you preheat the oven to 500 degrees F. Place a cast iron Dutch oven into the oven while it preheats.
- Right before baking, transfer the dough onto a sheet of parchment paper. Lightly flour the surface and score with a razor blade or lame. (This is optional but makes it extra pretty).
- Take the preheated Dutch oven out of the oven. Carefully lower the dough, parchment paper and all, into the Dutch oven, being careful not to burn your fingers.
- Place the lid back on and bake for 25 minutes.
- Using oven mitts, remove the lid and turn the oven temperature down to 475 degrees. Bake for an additional 10 minutes or until golden brown on the top. To test doneness, an instant read food thermometer should read 200-205 degrees F.
Notes
- The time it takes for the dough to rise during bulk fermentation can vary depending on how warm your house is, the maturity of your starter, etc. Remember good things come to those who wait 🙂
- Due to the addition of the honey, the dough will be slightly sticky to work with. This is okay! I find that dipping my fingers in water before and while handling the dough helps tremendously.
- If you don’t own a kitchen scale, I recommend you spoon and level the flour when measuring to get as accurate of a measurement as possible. Scooping the flour directly from a container generally leads to adding more flour than the recipe calls for, which can lead to a tougher loaf of bread.
- I like to dust the top of the dough with flour so the scoring pattern stands out once the bread is baked. This is optional, but makes it extra pretty.
- If you find the bottom of your sourdough bread is getting too brown in the oven, add a thin layer of uncooked rice on the bottom of the Dutch oven before placing the sourdough bread on top and baking. This will keep the bottom from getting too brown.
- If you are wanting to bake sourdough bread the same day, it is possible! Check out my same day sourdough bread recipe here.
- Prep Time: 1 hr 20 minutes (including time between stretch and folds)
- Bulk Fermentation (Overnight): 8-12 hours
- Cook Time: 50 minutes
- Category: Bread Recipes
- Method: Baking
If you loved this recipe for basic and easy sourdough bread, make sure to come back and leave a comment and a 5 star rating! I would love to hear how this recipe turned out for you.


great beginner recipe!!