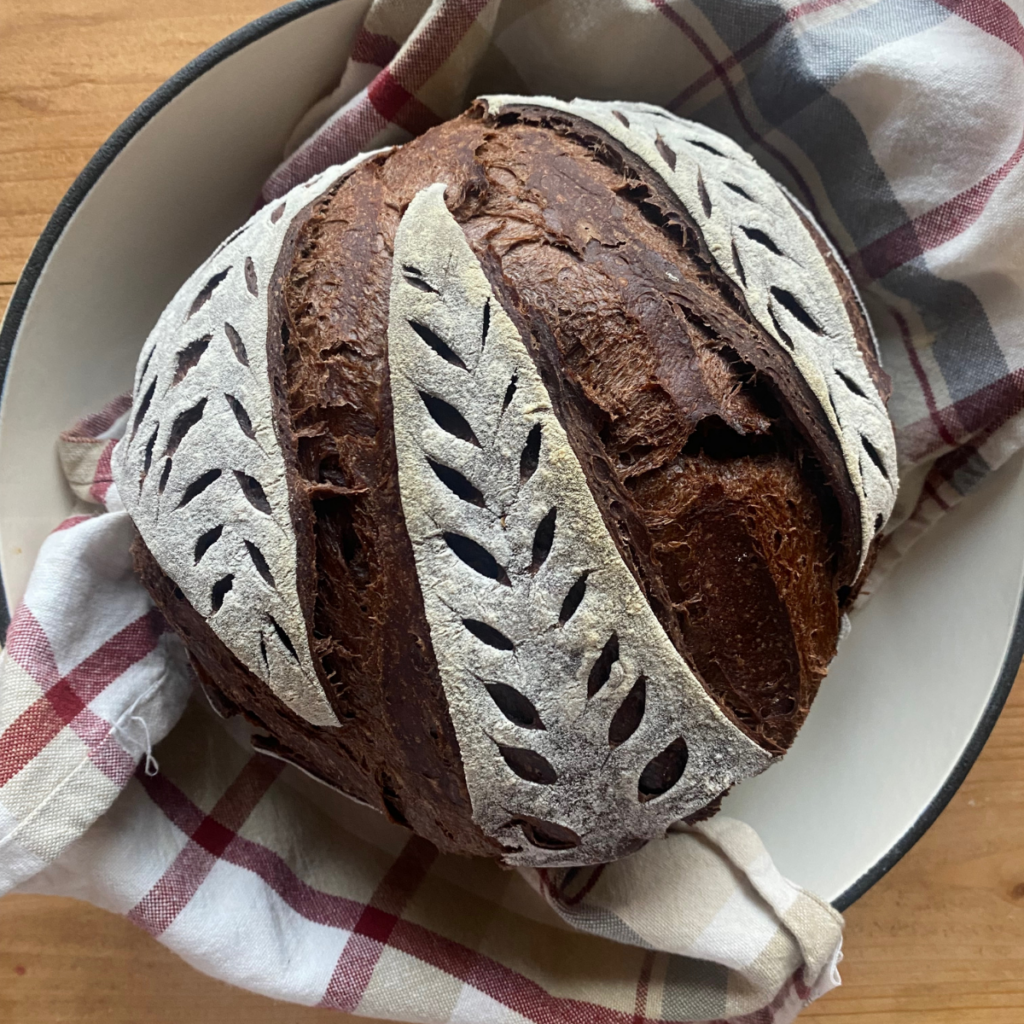
Perfectly Decadent Chocolate Sourdough Bread
For a fun twist on a traditional sourdough artisan loaf, this rich and flavorful chocolate sourdough bread is a chocolate lover’s dream! Baked in a Dutch oven to ensure a crispy crust with a soft and chewy interior, it is packed with chocolate flavor that will have you coming back for more.
I am a huge chocolate fan. This einkorn brownie recipe was one of the very first on the blog, and since I recently made frosted sourdough brownies (divine) I thought it was time we needed a chocolate sourdough bread recipe, right?
Adapted from my basic sourdough bread recipe, this chocolate sourdough bread is a new household favorite. My personal favorite way to eat it is toasted with a generous slab of butter and honey, or homemade strawberry jam.
Quick Recipe Snapshot
TOTAL TIME: About 10 hours total, including overnight bulk fermentation and rise time.
YIELD: One large loaf of bread 🙂
STORAGE: Storage: Baked sourdough bread can be stored in an airtight container at room temperature for up to 5 days.
BEST SERVED: Warm from the oven with a slab of butter and drizzle of honey. Heaven!!
Why You’ll Love This Recipe
Ingredients You’ll Need
Tips for Making This Recipe
- Sourdough starter should be active and bubbly. This means the starter has been fed within the last 8-12 hours, is bubbly, and passes the float test. If the starter is not active, the bread will not rise.
- Weigh your ingredients. I highly recommend using a kitchen scale to get accurate measurements. This will ensure the best outcome when baking homemade bread. If using measuring cups, make sure to spoon and level your flour.
- Use a Dutch oven. Steam is essential for creating an artisan style loaf that rises beautifully. The easiest and most reliable way to create steam is to choose a baking vessel that has a lid.
- If you find the bottom of your sourdough bread is getting too brown in the oven, add a thin layer of uncooked rice on the bottom of the Dutch oven before placing the sourdough bread on top and baking. This will keep the bottom from getting too brown.
- Experiment with different variations! Adding in dried cherries, cranberries or nuts would be a delicious addition to this chocolate bread.
Be sure to check out the full recipe and ingredient list below!
Recipe FAQs
The addition of the cocoa powder does make for a slightly tighter crumb than traditional sourdough bread.
Yes! Bulk fermentation refers to the time after you complete gluten development (through stretch and folds) until the time when you begin shaping your dough. It is essential to a delicious and nutritious loaf of sourdough.
Sourdough is definitely a healthier alternative to regular wheat bread! It is gut healthy, with lower phytate levels that make it more digestible and nutritious. It is also packed full of prebiotics that help to keep your gut bacteria happy.
For an in depth look at sourdough baking tools, head over to this post on affordable sourdough baking tools for success.
How to Serve Sourdough Chocolate Bread
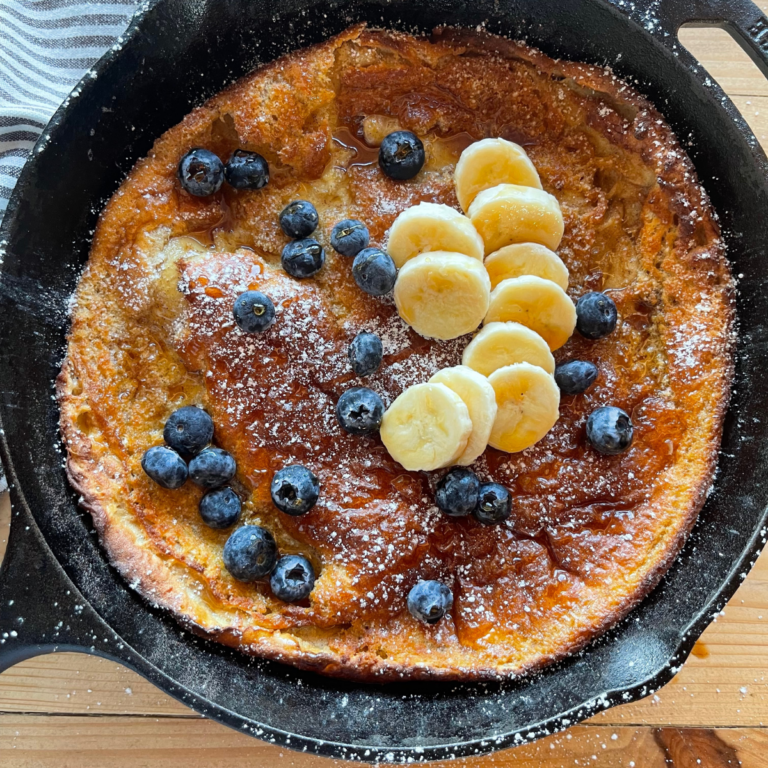
Serve it warm from the oven with a generous slab of butter, top it with a drizzle of honey or even homemade strawberry jam. If you are a peanut butter and chocolate fan (I know I am) spreading peanut butter or a chocolate nut butter over the top of each slice would be a great choice. A chocolate version of sourdough French toast casserole would also be divine!
tips
Baking at a Glance
- Mix dough together
- Let the dough rest for 45 minutes to an 1 hour (a process known as autolyse)
- Add the salt and chocolate chips after autolyse
- Complete stretch and folds every 30 minutes for the first 2 hours during bulk fermentation
- Let the dough continue to bulk rise at room temperature overnight, about 8-12 hours
- Shape and complete the second rise- 45 minutes to 1 hour
- Score and then bake in Dutch oven
Step by Step Instructions
Make the Dough
- The first (and most essential) step to this bread is to make sure you begin with active sourdough starter that has been fed within the past 8-12 hours.
- In a large mixing bowl, combine active starter, water, coffee, maple syrup, cocoa powder, and vanilla extract. Mix together until combined and then add in the salt and flour. I highly recommend using a kitchen scale to measure the ingredients.
- Using a Danish dough whisk or just your hands, mix the dough together until just combined. Allow it to rest in the bowl for 30-45 minutes before adding in the salt and chocolate chips. This process is known as autolyse, and allows the water and coffee to hydrate the flour.
- To incorporate the chocolate chips and salt, lift and fold the dough over itself several times and squish it with your hands. Continue doing this as best you can until it comes together into a rough ball. Let sit for 20-30 minutes before beginning stretch and folds.
- Stretch and Folds: To complete a stretch and fold, grab one edge of the dough and pull up, gently stretching it out as you pull upwards. Place this dough back into the center, and then give the bowl a quarter turn. Then grab another edge of dough, and complete another stretch and fold. Repeat two more times. This is considered one set of stretch and folds. You will do two more rounds of stretch and folds, waiting about 20 minutes in between each set. Try to keep the chocolate chips tucked into the dough and not on the outside. This will prevent burning when baked.
- Bulk fermentation: Once you have completed the stretch and fold process, add the dough to a bowl or banneton basket and then cover with plastic wrap or a damp kitchen towel. Allow it to bulk ferment at room temperature overnight, about 8-12 hours.


Shape, Rise, and Bake
6. Shape: Once the dough has completed the bulk fermentation and is doubled in size, you will begin the shaping process. Gently remove the dough from the bowl and place it onto the counter or work surface. Gather the dough, one side at a time, and fold it into the center. Flip the dough over and place it seam side down. Using your hands, gently cup the sides of the dough and spin it towards you, rotating it slowly in a circular motion. You can repeat this process until you are happy with its shape.
7. Second Rise: Place the shaped dough into a banneton basket or medium sized bowl lined with a tea towel. Allow it to rise again, 30 minutes to 1 hour. It is ready when the dough is slightly puffy, but not double in size. Towards the end of the second rise, preheat the oven to 450 degrees F.
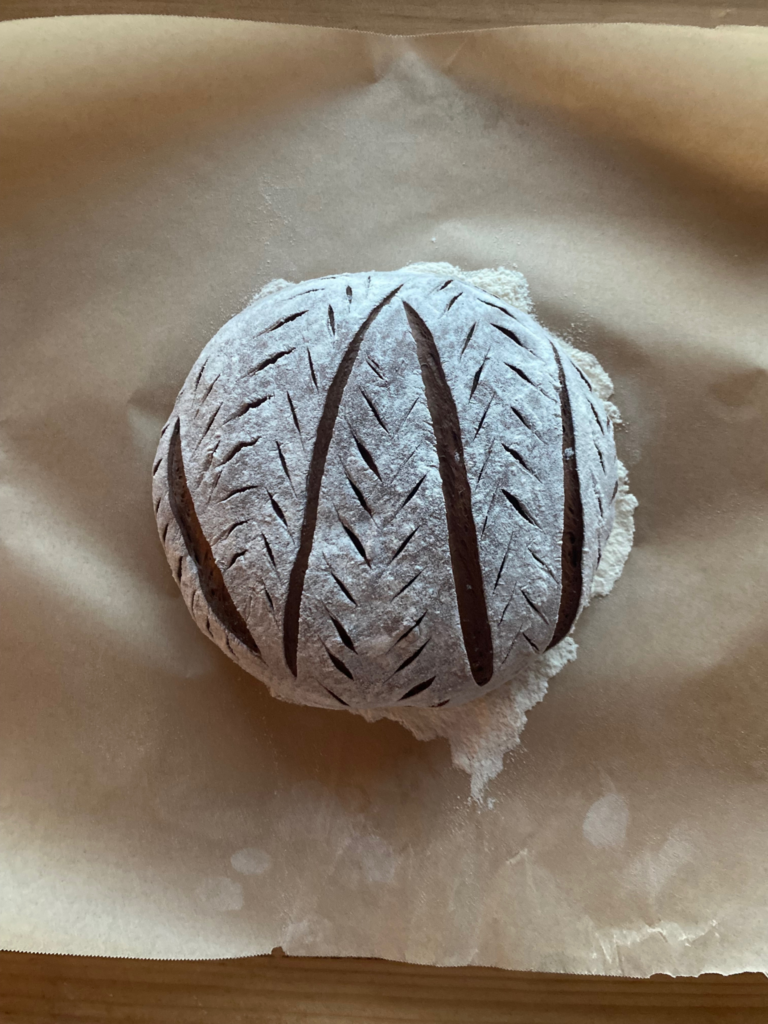
8. Score: Place a sheet of parchment on the counter, and then invert the bowl or banneton basket over the top of it to release the dough. Lightly dust the top of the dough with flour (optional, but makes the scoring pattern stand out more). Using the tip of a bread lame or a razor blade, score the dough according to your style preference.
9. Bake: Place your bread into the oven (lid on) and bake for 20 minutes. Remove the lid, turn the oven down to 425 degrees F, and continue to bake uncovered for an additional 25 minutes. To test doneness, a food thermometer inserted into the middle of the loaf should read 200-205 degrees F.
10. Allow bread to cool to room temperature before slicing and serving. Enjoy!


Storage and Freezing Instructions
Baked sourdough bread can be stored in an airtight container at room temperature for up to 5 days. To freeze, make sure the bread has cooled completely. Wrap the entire loaf tightly in plastic wrap and then place in an airtight, freezer-safe Ziploc bag to freeze for up to 3 months. Thaw in the fridge or at room temperature once you’re ready to enjoy.
More Sourdough Recipes
Check out these reader favorites!

Pin it For Later!


Chocolate Sourdough Bread
- Total Time: 9 hours 45 minutes
- Yield: 12 people 1x
Description
For a fun twist on a traditional sourdough artisan loaf, this rich and flavorful chocolate sourdough bread is a chocolate lover's dream! Baked in a Dutch oven to ensure a crispy crust with a soft and chewy interior, it is packed with chocolate flavor that will have you coming back for more.
Ingredients
- 150 grams active sourdough starter
- 100 g freshly brewed coffee (cooled)
- 200 g water
- 50 g maple syrup (about 3 tbsp)
- 50 g Dutch process cocoa
- 1 tsp pure vanilla extract
- 425 grams all purpose flour
- 1 ¼ tsp salt
- 1 cup semi-sweet chocolate chips
Instructions
- The first (and most essential) step to this bread is to make sure you begin with active sourdough starter that has been fed within the past 8-12 hours.
- In a large mixing bowl, combine active starter, water, coffee, maple syrup, cocoa powder, and vanilla extract. I highly recommend using a kitchen scale to measure the ingredients.
- Using a Danish dough whisk or just your hands, mix the dough together until just combined. Allow it to rest in the bowl for 30-45 minutes before adding in the salt and chocolate chips. This process is known as autolyse, and allows the water and coffee to hydrate the flour.
- To incorporate the chocolate chips and salt, lift and fold the dough over itself several times and squish it with your hands. Continue doing this as best you can until it comes together into a rough ball. Let sit for 20-30 minutes before beginning stretch and folds.
- Stretch and Folds: To complete a stretch and fold, grab one edge of the dough and pull up, gently stretching it out as you pull upwards. Place this dough back into the center, and then give the bowl a quarter turn. Then grab another edge of dough, and complete another stretch and fold. Repeat two more times. This is considered one set of stretch and folds. You will do two more rounds of stretch and folds, waiting about 20 minutes in between each set. Try to keep the chocolate chips tucked into the dough and not on the outside. This will prevent burning when baked.
- Bulk fermentation: Once you have completed the stretch and fold process, add the dough to a bowl or banneton basket and then cover with plastic wrap or a damp kitchen towel. Allow it to bulk ferment at room temperature overnight, about 8-12 hours.
- Shape: Once the dough has completed the bulk fermentation and is doubled in size, you will begin the shaping process. Gently remove the dough from the bowl and place it onto the counter or work surface. Gather the dough, one side at a time, and fold it into the center. Flip the dough over and place it seam side down. Using your hands, gently cup the sides of the dough and spin it towards you, rotating it slowly in a circular motion. You can repeat this process until you are happy with its shape.
- Second Rise:
Place the shaped dough into a banneton basket or medium sized bowl lined with a tea towel. Allow it to rise again, 30 minutes to 1 hour. It is ready when the dough is slightly puffy, but not double in size. Towards the end of the second rise, preheat the oven to 450 degrees F. - Score: Place a sheet of parchment on the counter, and then invert the bowl or banneton basket over the top of it to release the dough. Lightly dust the top of the dough with flour (optional, but makes the scoring pattern stand out more). Using the tip of a bread lame or a razor blade, score the dough according to your style preference.
- Bake:
Place your bread into the oven (lid on) and bake for 20 minutes. Remove the lid, turn the oven temperature down to 425 degrees F, and continue to bake uncovered for an additional 25 minutes. To test doneness, a food thermometer inserted into the middle of the loaf should read 200-205 degrees F. Enjoy!
Notes
- Sourdough starter should be active and bubbly. This means the starter has been fed within the last 8-12 hours, is bubbly, and passes the float test. If the starter is not active, the bread will not rise.
- Weigh your ingredients. I highly recommend using a kitchen scale to get accurate measurements. This will ensure the best outcome when baking homemade bread. If using measuring cups, make sure to spoon and level your flour.
- Use a Dutch oven. Steam is essential for creating an artisan style loaf that rises beautifully. The easiest and most reliable way to create steam is to choose a baking vessel that has a lid.
- If you find the bottom of your sourdough bread is getting too brown in the oven, add a thin layer of uncooked rice on the bottom of the Dutch oven before placing the sourdough bread on top and baking. This will keep the bottom from getting too brown.
- Experiment with different variations! Adding in dried cherries, cranberries or nuts would be a delicious addition to this chocolate bread.
- Storage: Baked sourdough bread can be stored in an airtight container at room temperature for up to 5 days.
- Freezing Instructions: To freeze, make sure the bread has cooled completely. Wrap the entire loaf tightly in plastic wrap and then place in an airtight, freezer-safe Ziploc bag to freeze for up to 3 months. Thaw in the fridge or at room temperature once you're ready to enjoy.
- Cook Time: 45 minutes
- Category: Breakfast
- Cuisine: American
Nutrition
- Calories: 249
- Sugar: 8
- Fat: 7
- Saturated Fat: 4
- Carbohydrates: 43
- Fiber: 4
- Protein: 6
If you loved this recipe for chocolate sourdough bread, make sure to come back and leave a comment and a 5 star rating! I would love to hear how this recipe turned out for you.


I LOVE this bread. I was worried adding the chocolate would make the loaf too dense, but it did not! I also like how it isn’t sweet, or adds a ton of sugar like some other recipes I was seeing online….I’m making bread, NOT cake!! Keep these awesome recipes coming!