Perfectly Gooey Pecan Pie Bars (No Corn Syrup!)
Hands down one of my favorite desserts, classic pecan pie gets a new and fun twist with these ooey gooey pecan pie bars. Made with no corn syrup and only wholesome, delicious ingredients, they are bite sized bits of heaven that will keep you coming back for more.

Pecan pie is one of those once a year desserts, although I’m not really sure why. It’s absolutely delicious! Along with other Thanksgiving themed foods, like garlic rosemary dinner rolls, these pecan pie bars are one of my favorite things that I’ve made in awhile. They provide all of the delicious, gooey flavor of classic pecan pie, without having to fuss with a pie crust! (Although this sourdough pie crust is probably the easiest pie crust you’ll ever make!)
These bars are also super portable and convenient for eating, making them great to take along to a Thanksgiving potluck (or any event, for that matter).
Let’s make them!

Quick Recipe Snapshot
TOTAL TIME: About an hour, start to finish! Worth every minute.
YIELD: About 16 bars, depending on how big you slice ’em 🙂
STORAGE: These bars store well in the fridge for up to a week (if they last that long!)
BEST SERVED: These bars are the perfect dessert recipe through the fall and winter months!
Why You’ll Love This Recipe
Tips for Preparing to Make This Recipe
- When making the filling, make sure the melted butter has cooled enough to add the beaten eggs. If you add the eggs directly into hot butter, it can scramble them. I recommend slowly adding the eggs while whisking/stirring constantly to avoid scrambling.
- If greasing the baking dish, make sure to do so sufficiently, being sure to get all the corners/edges of the pan too! This can make all the difference when cutting and serving the bars so they don’t stick to the pan.
- For another fun twist on classic pecan pie, add in ½ cup chocolate chips to the filling. Yum!
- You could always forgo chopping the pecans and use pecan halves instead.
Be sure to check out the full recipe and ingredient list below!
Ingredients You’ll Need
This is a quick overview of a few essential ingredients needed for this recipe. Be sure to check out the recipe card below for the full list!

How to Make Pecan Pie Bars
- Preheat oven to 350 degrees F. Grease a 9 x 13 baking dish or line with parchment paper and set aside.
- Make the crust: In a large mixing bowl, combine flour, salt, and sugar with melted butter. Stir together to combine. Press the crust mixture into the bottom of the pan, using your hands to press it as evenly as possible. Bake in preheated oven for 15 minutes.
- Prepare the filling: While the crust bakes, prepare the gooey pecan filling. To a mixing bowl, add melted butter (make sure it has cooled slightly!), beaten eggs, brown sugar, maple syrup, salt, vanilla extract, and chopped pecans.
- Pull the baked crust from the oven. Pour the filling mixture over the top, using an offset spatula to spread it evenly over the top. Bake for 30 minutes or until the bars start to puff up and set.
- Let the bars cool completely before slicing and serving. Enjoy!
Be sure to check out the full recipe below!
Recipe FAQs
Yes. I would recommend refrigerating these bars because of the addition of the eggs. They will store well in an airtight container in the fridge for up to a week.
Yes! Bake the bars and allow them to cool completely. Wrap tightly in plastic wrap and store in a freezer-safe container or Ziploc bag for up to three months. Let thaw at room temperature when ready to enjoy.
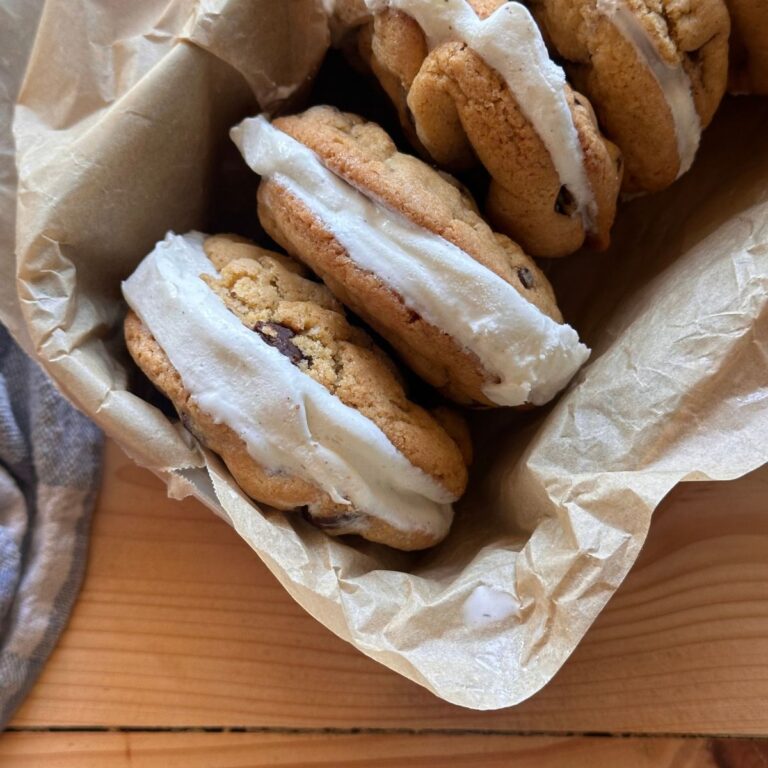
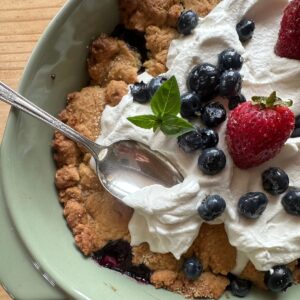
More Dessert Recipes
Check out these reader favorites, straight from my log cabin kitchen!


Pin it For Later!


Pecan Pie Bars (No Corn Syrup!)
- Total Time: 1 hour 5 minutes
- Yield: 16 1x
Description
Hands down one of my favorite desserts, classic pecan pie gets a new and fun twist with these ooey gooey pecan pie bars. Made with no corn syrup and only wholesome, delicious ingredients, they are bite sized bits of heaven that will keep you coming back for more.
Ingredients
Shortbread Crust
- 2 cups flour
- ½ tsp salt
- ¼ cup granulated sugar
- 12 tbsp butter (1 ½ sticks melted)
Pecan Filling
- 3 eggs (beaten)
- 1 cup maple syrup
- ¾ cup brown sugar
- ⅓ cup butter (melted)
- ½ tsp salt
- 2 tsp vanilla extract
- 1 ¼ cup chopped pecans
Instructions
- Preheat oven to 350 degrees F. Grease a 9 x 13 baking dish or line with parchment paper and set aside.
- Make the crust: In a large mixing bowl, combine flour, salt, and sugar with melted butter. Stir together to combine. Press the crust mixture into the bottom of the pan, using your hands to press it as evenly as possible. Bake in preheated oven for 15 minutes.
- Prepare the filling: While the crust bakes, prepare the gooey pecan filling. To a mixing bowl, add melted butter (make sure it has cooled slightly!), beaten eggs, brown sugar, maple syrup, salt, vanilla extract, and chopped pecans.
- Pull the baked crust from the oven. Pour the filling mixture over the top, using an offset spatula to spread it evenly over the top. Bake for 30 minutes or until the bars start to puff up and set.
- Let the bars cool completely before slicing and serving. Enjoy!
Notes
- When making the filling, make sure the melted butter has cooled enough to add the beaten eggs. If you add the eggs directly into hot butter, it can scramble them. I recommend slowly adding the eggs while whisking/stirring constantly to avoid scrambling.
- If using non-stick spray or butter to grease the baking dish, make sure to do so sufficiently! Be sure to get all the corners/edges of the pan. This can make all the difference when cutting and serving the bars so they don’t stick.
- For another fun twist on classic pecan pie, add in ½ cup chocolate chips to the filling. Yum!
- You could always forgo chopping the pecans and use pecan halves instead.
- Storage: These pecan pie bars will store well in an airtight container in the fridge for up to a week.
- Freezing Instructions: Bake the bars and allow them to cool completely. Wrap tightly in plastic wrap and store in a freezer-safe container or Ziploc bag for up to three months. Let thaw at room temperature when ready to enjoy.
- Prep Time: 20 minutes
- Cook Time: 45 minutes
- Category: Dessert
- Cuisine: American
Nutrition
- Calories: 344
- Sugar: 26
- Sodium: 260
- Fat: 19
- Saturated Fat: 9
- Carbohydrates: 40
- Protein: 4
- Cholesterol: 63
If you loved this recipe for perfect pecan pie bars, make sure to come back and leave a comment and a 5 star rating! I would love to hear how these cookies turned out for you. Tag me on Instagram with your creations @ourhandcraftedhomeblog.


Delicious!!
As a novice baker, this recipe was so easy to follow and quite enjoyable to put together. I ended up making it twice in one week to share with family. It was a perfect dessert to bring to gatherings and everyone loved it – especially me! I look forward to trying more of Rachael’s recipes in the future.
Faith, thank you so much!! 🙂 I’m glad everyone enjoyed it.
It’s hard to find good recipes that actually work without all the “bad” ingredients. This one works! Thank you for sharing!
Thank you, Annie! So glad you loved the recipe.