Easy + Delicious No Fail Sourdough Pie Crust
The easiest sourdough pie crust you will ever make! This sourdough pie crust recipe uses only 5 ingredients to create a buttery, flaky pie crust every time. A must try for any holiday baking!
Pie crust is always a good idea, isn’t it?
Even if you aren’t prepping for holiday baking quite yet, I think it is a good idea for any home baker to have a ready to go pie crust recipe that is quick, easy, and no fail!
I use this recipe all the time for both sweet and savory dishes, and it always turns out great.
Let’s make it!
Why You’ll Love This Pie Crust
Ingredients You’ll Need
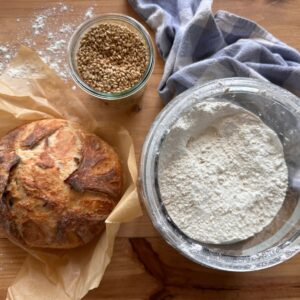
- Flour: I use organic unbleached all purpose flour.
- Butter: You can salted or unsalted butter in this recipe. Just make sure its cold to get the ultimate flaky crust.
- Salt: I love and use Redmond mineral salt.
- Sourdough starter: Active starter or sourdough discard will work.
- Ice water: Emphasis on ice water! Again, it needs to be very cold to get the flaky crust we’re going for.
Tips for Preparing to Make This Recipe
- Keeping the pastry dough as cold as you can during this process is key to a flaky pie crust!
- If you notice the dough is cracking or too dry, dip your fingers in cold water and smooth out any cracks. If it’s cracking, it needs some moisture. If the dough seems really sticky, don’t be afraid to add some more flour to it.
Be sure to check out the full recipe and ingredient list below!
Shop Recommended Tools
Disclaimer: This post contains affiliate links, meaning I make a small commission off of them with no extra cost to you. Read my full disclosure policy here.
Step by Step Instructions for Sourdough Pie Crust
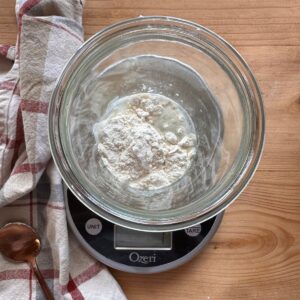
- In a large mixing bowl, combine the flour and salt. Add in the cold, cubed (or grated) butter. Using a pastry blender, two forks, or your hands, begin to work the cold butter into the dry ingredients until it resembles coarse crumbs.
- Add water to a glass measuring cup. Place an ice cube in the water, stirring around until the ice cube has melted and the water is very cold. Remeasure the water to make sure it is at ½ cup, since the ice will have melted.
- Add ½ cup of sourdough starter to the water, stirring well to combine. Pour the sourdough and water mixture over the dry ingredients, mixing together until it forms a ball. The dough should be very soft and easy to work with.
- Shape the dough into a disc, wrap in plastic wrap and place in the fridge overnight (or for a minimum of 2 hours).
Rolling and Baking
- Once you are ready to bake the pie crust, remove it from the fridge and place it on a lightly floured surface. Using a rolling pin, begin rolling out the dough, starting from the center and working your way out in all directions, turning the dough with your hands as you go. Make sure to rotate the pie crust often to make sure it’s not sticking to your work surface. Don’t be afraid to sprinkle on a little more flour if it’s sticking!
- Roll the dough into a thin 12-inch circle, which is the perfect size to fit a 9-inch pie dish. Your pie dough will be about ¼ inch thick. You will notice specks of butter in the dough; this is normal and expected! Butter pockets=flaky crust, baby.
- Because the dough is thin and somewhat fragile, use your rolling pin to help transfer the pie crust to the pie dish. Carefully roll one end of the circle of dough gently onto the rolling pin, rolling it back towards you, slowly peeling it off the work surface as you go. Pick it up, and carefully roll it back out over the top of the pie dish.
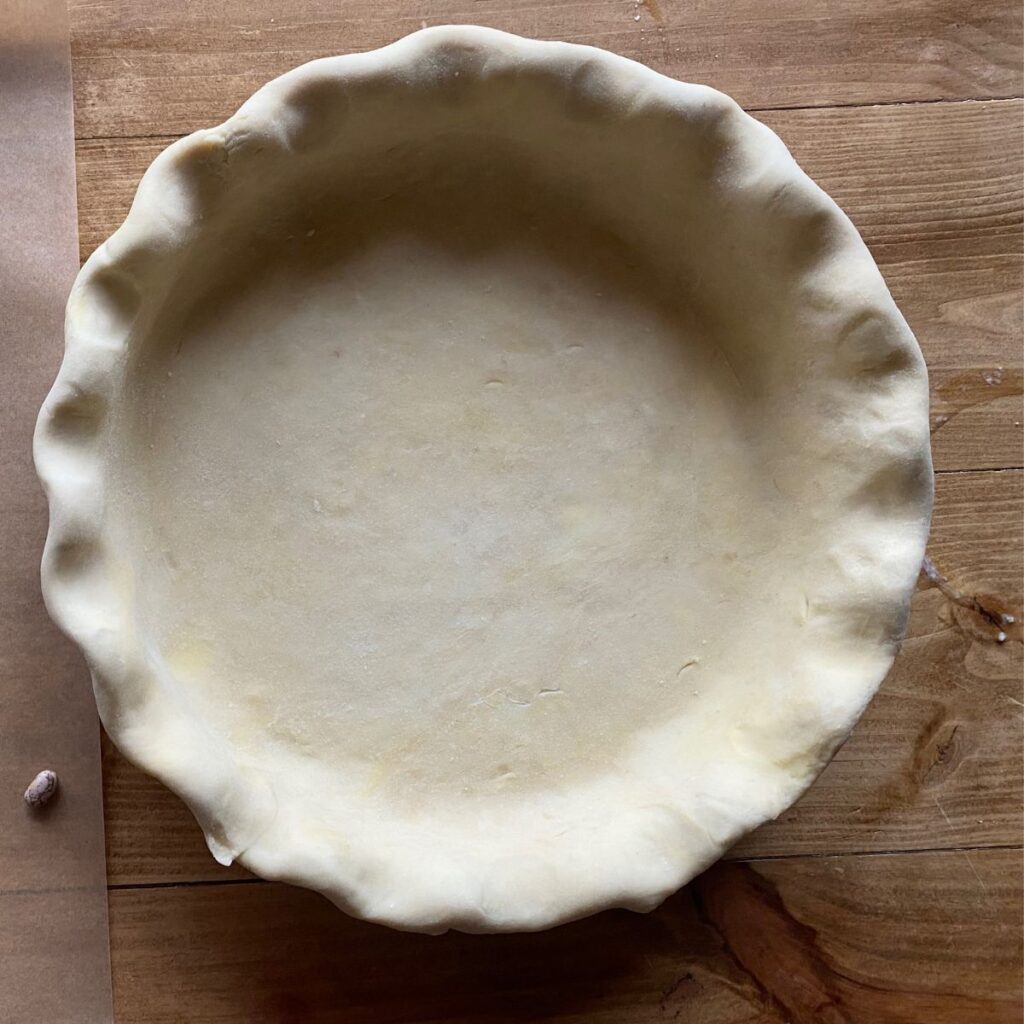
- Trim the excess dough around the edges of the pie dish using a butter knife or kitchen scissors. Crimp the edges by using your knuckle and two fingers to press around the edges of the crust, giving it that classic scalloped look. You can also crimp the edges of the crust using the tines of a fork.
- Proceed to bake the pie crust per your recipe’s instructions. Enjoy!
Recipe FAQs and Storage
Yes! Pie crust freezes beautifully. Prepare the pie dough through step 4 and freeze the discs for up to 3 months. Thaw overnight in the refrigerator before using in your pie recipe.
Yes. Pie crust is perfect for make ahead recipes! It can be prepared in advance and then stored in the refrigerator for up to 5 days or in the freezer for up to 3 months. Thaw in the refrigerator before using.
Pin it For Later!


Sourdough Pie Crust
- Total Time: 9 hours
- Yield: 2 pie crusts 1x
Description
The easiest sourdough pie crust you will ever make! This sourdough pie crust recipe uses only 5 ingredients to create a buttery, flaky pie crust every time. A must try for any holiday baking!
Ingredients
- 2 cups all purpose flour
- 1 tsp salt
- 1 cup 2 sticks unsalted butter
- ½ cup ice water
- ½ cup sourdough starter
Instructions
- In a large mixing bowl, combine the flour and salt. Add in the cold, cubed (or grated) butter. Using a pastry blender, two forks, or your hands, begin to work the cold butter into the dry ingredients until it resembles coarse crumbs.
- Add water to a glass measuring cup. Place an ice cube in the water, stirring around until the ice cube has melted and the water is very cold. Remeasure the water to make sure it is at ½ cup, since the ice will have melted.
- Add ½ cup of sourdough starter to the water, stirring well to combine. Pour the sourdough and water mixture over the dry ingredients, mixing together until it forms a ball. The dough should be very soft and easy to work with.
- Shape the dough into a disc, wrap in plastic wrap and place in the fridge overnight (or for a minimum of 2 hours).
- Once you are ready to bake the pie crust, remove it from the fridge and place it on a lightly floured surface. Using a rolling pin, begin rolling out the dough, starting from the center and working your way out in all directions, turning the dough with your hands as you go. Make sure to rotate the pie crust often to make sure it’s not sticking to your work surface. Don't be afraid to sprinkle on a little more flour if it’s sticking!
- Roll the dough into a thin 12-inch circle, which is the perfect size to fit a 9-inch pie dish. Your pie dough will be about ¼ inch thick. You will notice specks of butter in the dough; this is normal and expected! Butter pockets=flaky crust, baby.
- Because the dough is thin and somewhat fragile, use your rolling pin to help transfer the pie crust to the pie dish. Carefully roll one end of the circle of dough gently onto the rolling pin, rolling it back towards you, slowly peeling it off the work surface as you go. Pick it up, and carefully roll it back out over the top of the pie dish.
- Trim the excess dough around the edges of the pie dish using a butter knife or kitchen scissors. Crimp the edges by using your knuckle and two fingers to press around the edges of the crust, giving it that classic scalloped look. You can also crimp the edges of the crust using the tines of a fork.
- Proceed to bake the pie crust per your recipe's instructions. Enjoy!
Notes
- Keeping the dough as cold as you can during this process is key to a flaky pie crust!
- If you notice the dough is cracking or too dry, dip your fingers in cold water and smooth out any cracks. If it’s cracking, it needs some moisture. If the dough seems really sticky, don’t be afraid to add some more flour to it.
- Make Ahead Instructions: This pie crust can be prepared in advance and then stored in the refrigerator for up to 5 days or in the freezer for up to 3 months. Thaw in the refrigerator before using.
- Freezing Instructions: Prepare the pie dough through step 4, wrap tightly in plastic wrap and then freeze the discs for up to 3 months. Thaw overnight in the refrigerator before using in your pie recipe.
- Prep Time: 30 minutes
- Cook Time: 30 minutes
- Category: Dessert
- Cuisine: American
If you loved this sourdough pie crust recipe, make sure to come back and leave it a 5 star rating and a comment! I would love to know how it turned out for you. Tag me on Instagram @ourhandcraftedhomeblog.