How To Make Chocolate Sweet Rolls with Vanilla Icing
These chocolate sweet rolls are incredibly decadent and rich… a chocolate lovers dream! Soft chocolate rolls filled with a delicious chocolate filling and then rolled up and baked until gooey. Topped with vanilla icing, they are a wonderful breakfast or even a late night treat!

Rich. Chocolatey. Divine.
I have a definite sweet tooth. Every once in awhile, I am hit with a chocolate craving so intense that can only be satisfied with a rich chocolate dessert…something homemade and decadent. Now, I’ll confess, my usual go to for this is homemade brownies. Because, well, you can’t ever go wrong with brownies! But, every once in awhile, when I have the time, these chocolate sweet rolls do just the trick. They are absolutely divine…kind of like a delicious and unique twist on an Oreo cookie.
You must make them.


Quick Recipe Snapshot
TOTAL TIME: About 2 ½ hours, including rise times!
YIELD: 12 delicious rolls 🙂
STORAGE: Store leftovers in an airtight container on the counter for up to 3 days.
BEST SERVED: Warm from the oven with a big glass of milk!
Why You’ll Love This Recipe
Ingredients You’ll Need
This is a quick overview of a few essential ingredients needed for this recipe. Be sure to check out the recipe card below for the full list!
Tips for Success
- Yeast: I use active dry yeast for the dough, but 1 packet of instant yeast works just fine too. If using instant yeast, skip the step of letting it bloom. Instead, just add everything to the mixing bowl and continue with step 2.
- Rise Time: The rise time of your dough can vary depending on how warm your house is. My house stays on the cooler side (68 degrees or less), so I know that my dough will take a little longer to rise.
- Filling: Make sure to use very soft butter for the filling. Hard butter will be impossible to spread, and melted butter will get absorbed into the dough. Soft butter is key.
Be sure to check out the full recipe and ingredient list below!
How to Make Chocolate Sweet Rolls
- Activate the yeast. In the bowl of a stand mixer fitted with a dough hook attachment, add active dry yeast, sugar, and ½ cup warm (around 110 degrees) milk. I use and like this food thermometer for measuring temperature. Mix well and let sit for 5-10 minutes until the yeast has bloomed.
- Once the yeast is activated, begin adding in the rest of the ingredients, minus the flour. Turn the mixer on medium-low speed to begin mixing together. You may have to pause the mixer occasionally and scrape down the sides of the bowl until all the ingredients are properly incorporated.
- Slowly add in the flour, about 1 cup at a time. I find that I usually use 3 cups of flour in this recipe, but it can vary slightly. Just keep in mind that this is a soft dough. It will come together, but will be slightly sticky/tacky. If you feel like the dough isn’t coming together enough, add in more flour, 1 tablespoon at a time, until it is the right consistency. Just be careful not to add too much flour- you don’t want a dry dough!
- Once the dough is the right consistency, go ahead and let it knead for 6-8 minutes. You will know the dough is ready to rise when you poke it with your finger and it slowly bounces back.
- Lightly grease a small bowl with oil (I use avocado oil). Cover the dough and set it in a warm place to rise for 1-2 hours.
Chocolate Sweet Roll Filling
While the dough is completing the first rise, go ahead and mix up the filling. You will need is softened butter, brown sugar, cocoa powder, and vanilla extract. Oh, and some chocolate chips!
- In a small bowl, add 1 stick of softened butter, ¼ cup cocoa powder, 1 cup brown sugar. and 2 teaspoon of vanilla extract. Mix together until the ingredients are well incorporated. Set aside.
Roll, Fill, Rise and Bake!
Now that you’ve got a nice ball of risen dough, its time to get rolling!
- Begin by lightly dusting your counter with cocoa powder. Set your risen ball of dough on top.
- Using rolling pin, begin rolling out the dough until you have a rough rectangle shape, about ¼ inch thick. Add the filling mixture on top of the dough, using an offset spatula to spread it out as evenly as possible. Sprinkle chocolate chips over the filling.


3. Starting with a short side, begin rolling the dough slowly, making sure to roll it as tight as you can.
4. Once you have your roll shaped, take a sharp knife and cut slices about an inch thick to create your rolls. Add the chocolate rolls to your preferred baking dish or pan and let rise for another 30 minutes.
5. Preheat oven to 350 degrees. Once the rolls have risen and are ready to bake, bake them in the preheated oven for 25-30 minutes or until slightly browned on top and cooked through.
6. While the rolls are baking, quickly whip up the vanilla icing. In a small bowl, add 2 cups powdered sugar, 1 tablespoon melted butter, 2 teaspoon vanilla extract, and just enough heavy cream to make the icing spreadable. Whisk together until well incorporated and then set aside.
6. Pull from the oven and cue angels singing.


Storage & Make Ahead Instructions
- Storage: These sweet rolls can be covered tightly with plastic wrap and kept on the counter to enjoy for up to 3 days.
- Make Ahead Instructions: These rolls can be made up to 1 day in advance and stored in the fridge until ready to bake. To prep them to bake, simply pull them out of the fridge and let them sit out on the counter to come to room temperature and rise for at least 30 minutes before baking.
Be sure to leave a comment and a rating down below! I’d love to know how this recipe turned out for you.
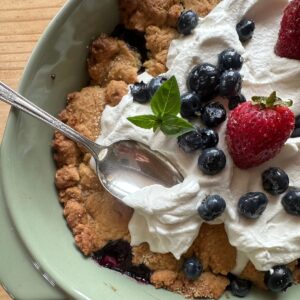
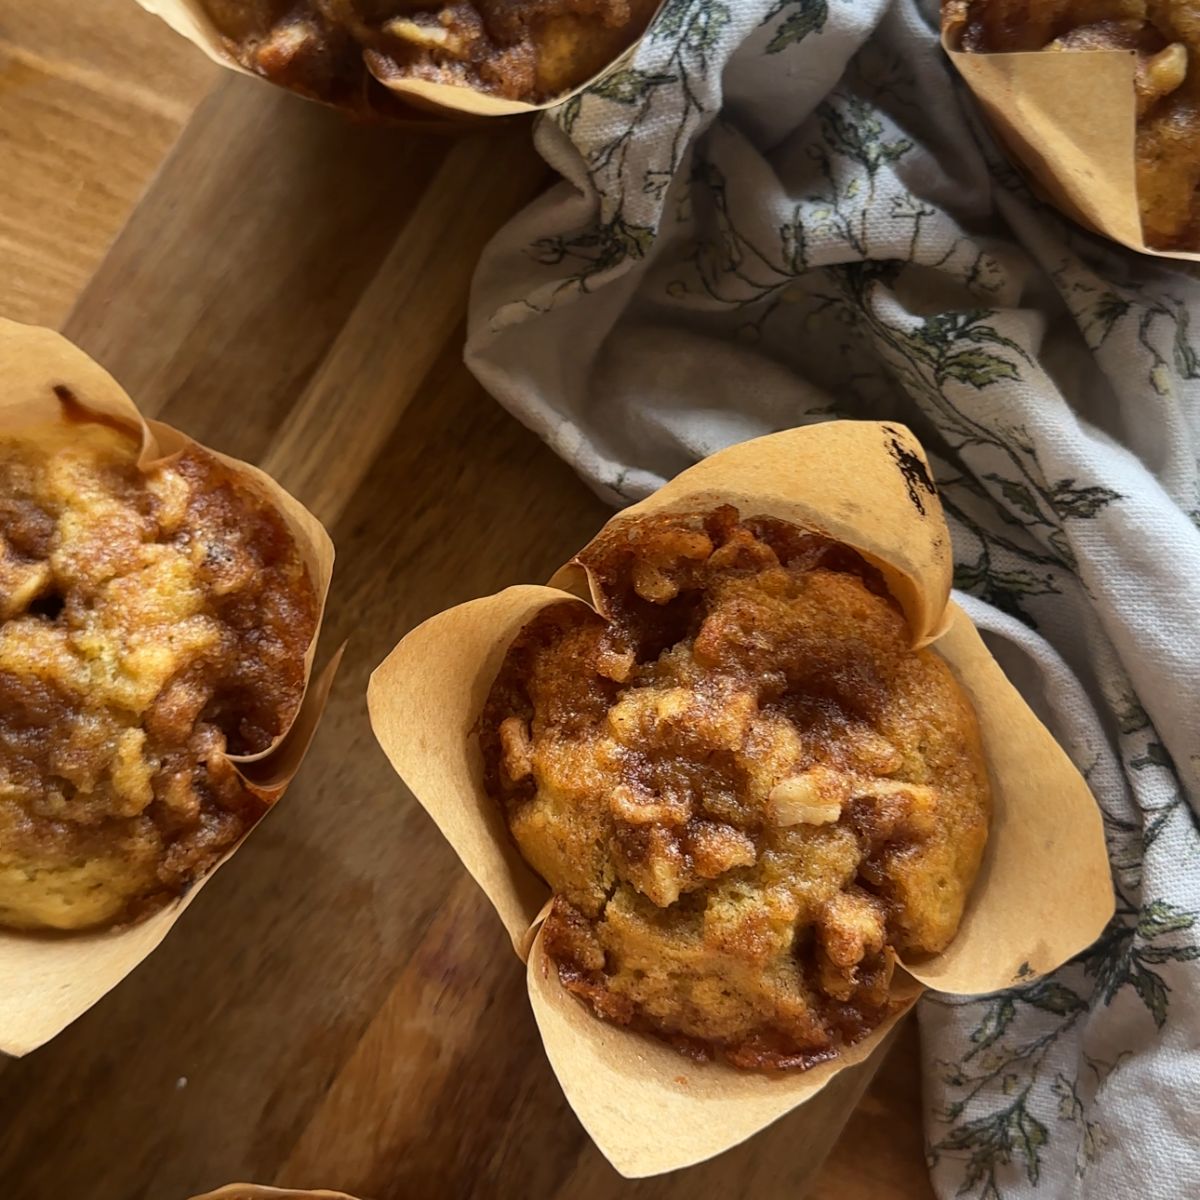
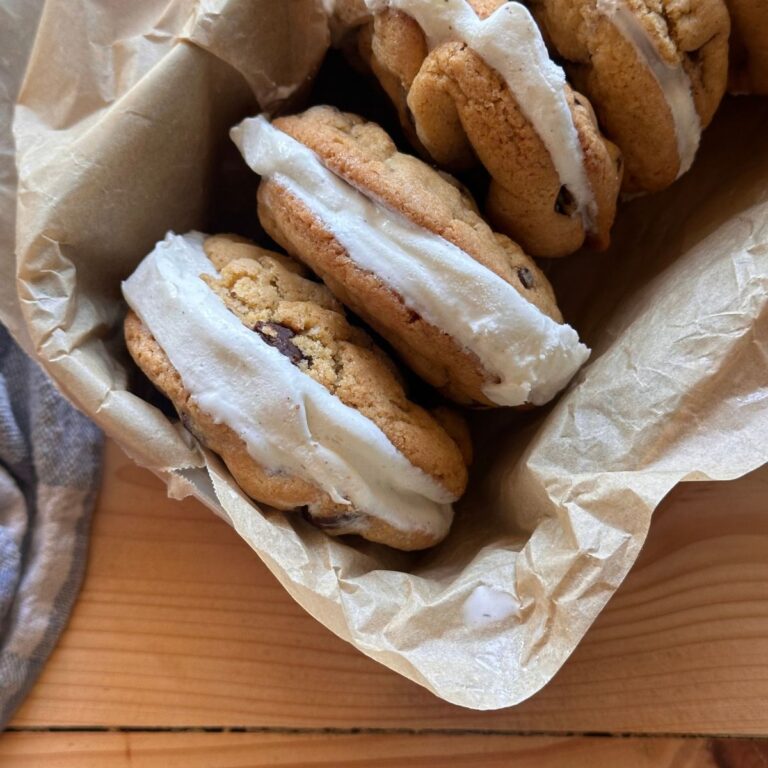
More Dessert Recipes
Check out these other reader favorite recipes!


Pin it For Later!

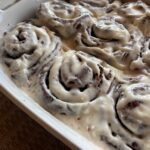
Chocolate Sweet Rolls
- Total Time: 2 hours 45 minutes
- Yield: 12 rolls 1x
Description
These chocolate sweet rolls are incredibly decadent and rich… a chocolate lovers dream! Soft chocolate rolls filled with a delicious chocolate filling and then rolled up and baked until gooey. Topped with vanilla icing, they are a wonderful breakfast or even a late night treat!
Ingredients
Dough
- 1 cup milk, warmed to 110 degrees
- 2 tsp active dry yeast
- 1 tsp sugar
- 6 tbsp butter, melted and cooled
- ⅓ cup sugar
- 4 egg yolks
- 1 tbsp pure vanilla extract
- ½ cup unsweetened cocoa powder
- 3 cups flour
Filling
- 1 stick softened butter
- `1 cup sugar
- ¼ cup cocoa powder
- 1 tbsp pure vanilla extract
- 1 cup semi-sweet chocolate chips
Vanilla Icing
- 2 cups powdered sugar
- 1 tbsp melted butter
- Heavy cream, enough to make icing spreadable
Instructions
- Activate the Yeast: In the bowl of a stand mixer fitted with a dough hook attachment or a large mixing bowl, add yeast, 1 teaspoon sugar, and ½ cup warm milk. Mix well and let sit for 5-10 minutes until the yeast has bloomed.
- Once the yeast is activated, begin adding in the rest of the ingredients, minus the flour. Turn the mixer on medium-low speed to begin mixing together. You may have to pause the mixer occasionally and scrape down the sides of the bowl until all the ingredients are properly incorporated.
- Slowly add in the flour, about 1 cup at a time. I find that I usually use 3 cups of flour in this recipe, but it can vary slightly. Just keep in mind that this is a soft dough. It will come together, but will be slightly sticky/tacky. If you feel like the dough isn’t coming together enough, you can add in more flour, 1 tablespoon at a time, until it is the right consistency. Just be careful not to add too much flour- you don’t want a dry dough!
- Once the dough is the right consistency, go ahead and let it knead for 6-8 minutes. You will know the dough is ready to rise when you poke it with your finger and it slowly bounces back.
- First Rise: Add the dough to a well greased bowl (I use avocado oil) and set it in a warm place to rise until doubled, 1-2 hours.
- Make the Filling: In a small bowl, add 1 stick of softened butter, ¼ cup cocoa powder, 1 cup brown sugar. and 2 teaspoon of vanilla extract. Mix together until the ingredients are well incorporated. Set aside.
- Roll Out & Fill: Once the dough has doubled in size, lightly dust your counter with cocoa powder. Set the risen ball of dough on top and begin rolling out the dough until you have a rough rectangle shape, about ¼ inch thick. Add the filling mixture on top of the dough, using an offset spatula to spread it out as evenly as possible. Sprinkle chocolate chips over the filling.
- Shape: Begin rolling the dough into a log shape. Starting with a short side, start rolling the dough slowly towards you, making sure to roll it as tight as you can.
- Once you have your roll shaped, take a sharp knife and cut slices about an inch thick to create your rolls. Carefully place each roll into a greased 9 x 13 baking dish. Cover with plastic wrap or a tea towel and let rise for another 30 minutes.
- Preheat oven to 350 degrees F.
- Bake: Once the rolls have risen and are ready to bake, bake them in the preheated oven for 25-30 minutes or until slightly browned on top and cooked through.
- Make the Vanilla Icing: While the rolls are baking, make the icing. In a small bowl, add powdered sugar, melted butter, vanilla extract, and just enough heavy cream to make the icing spreadable. Whisk together until well incorporated and then set aside.
- Allow the baked rolls to cool slightly (about 5 minutes) before spreading the vanilla icing over the top of each roll. Serve and enjoy!
Notes
- Storage: Leftover rolls will store well in an airtight container at room temperature for up to 3 days.
- Make Ahead Instructions: These rolls can be made a day ahead of time and popped into the fridge overnight to bake for breakfast the next morning. To prep them to bake in the morning, simply pull them out of the fridge and let them sit out on the counter to come to room temperature and rise for at least 30 minutes before putting them in the oven.
- Freezing Instructions: Freeze baked rolls (without the icing) in an airtight container for up to 3 months.
- Prep Time: 20 minutes
- Cook Time: 25 minutes
- Category: Dessert Recipes
If you loved this recipe for homemade chocolate sweet rolls, be sure to come back and leave a comment and a 5 star rating! Tag me on Instagram with your creations @ourhandcraftedhomeblog.
Happy baking!